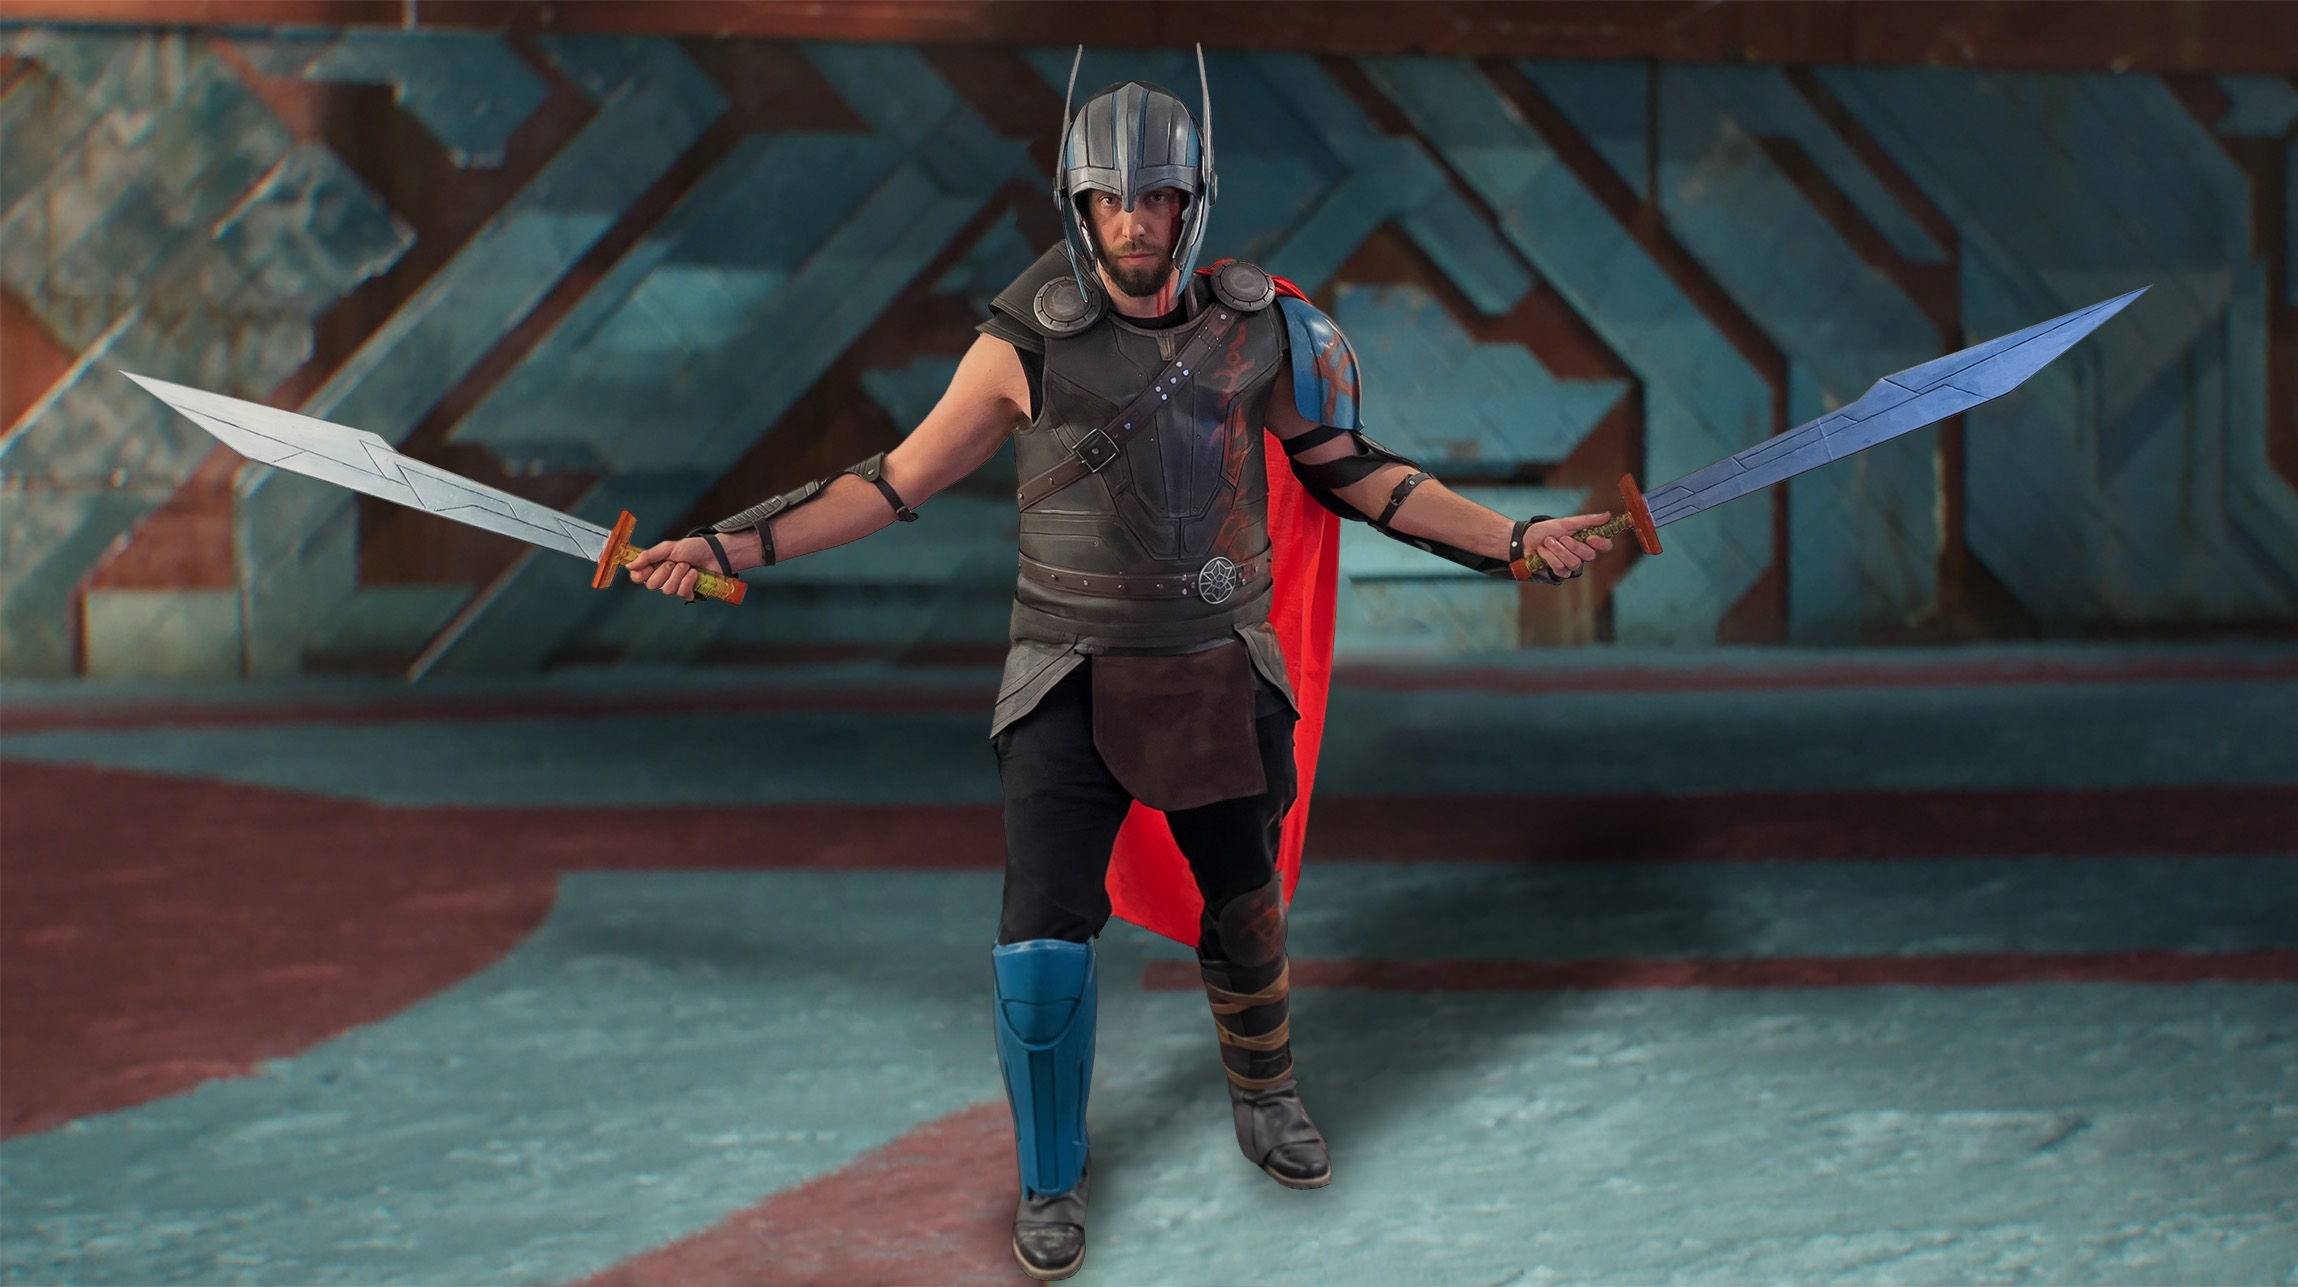
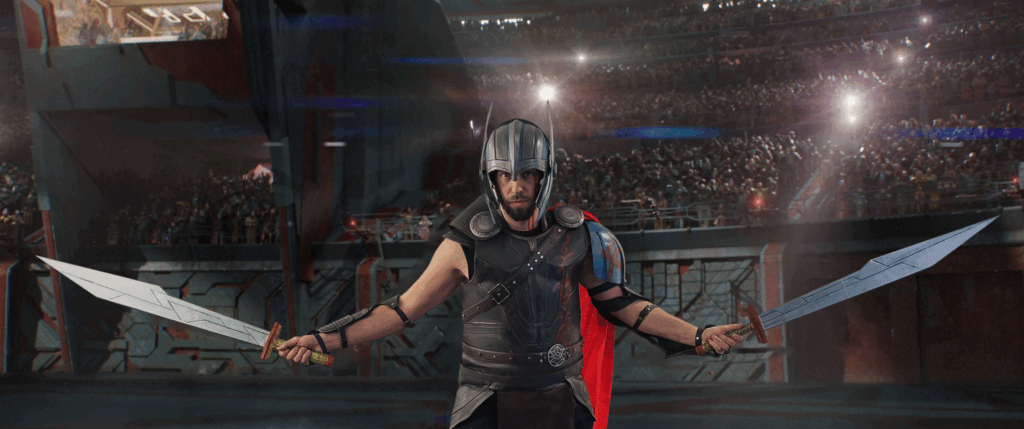
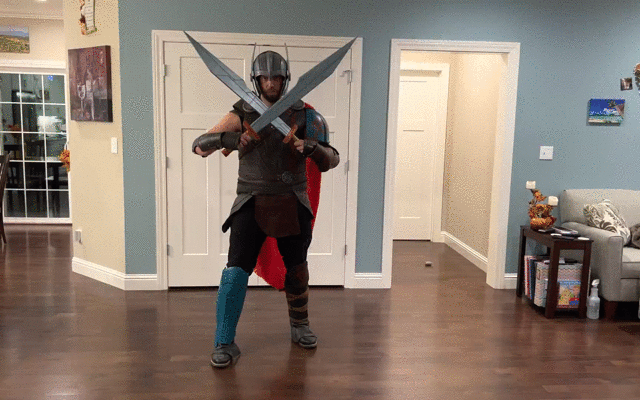
Thor is one of our favorite superheroes, and we love the costumes from Ragnarok. Plus, Scott looks a lot like the Ragnarok version, especially when he cuts his hair with the V and Z. 🙂 This was a really fun costume to create for the STL Ren Fest Heroes and Villains themed weekend. Thor and Loki swept the costume prizes for best Hero and Villain! Thor even won a pie eating contest in attempts to become “Fat Thor” 😉
The Hammer
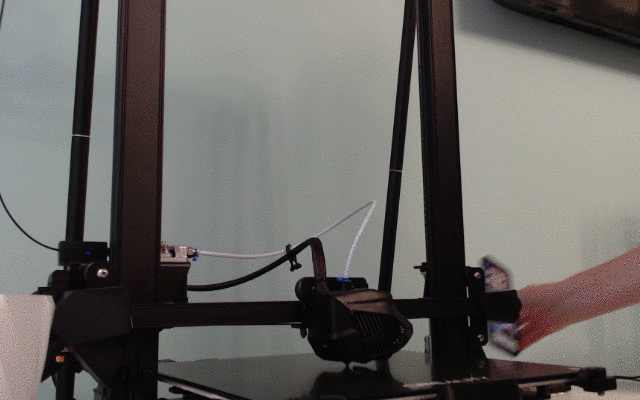
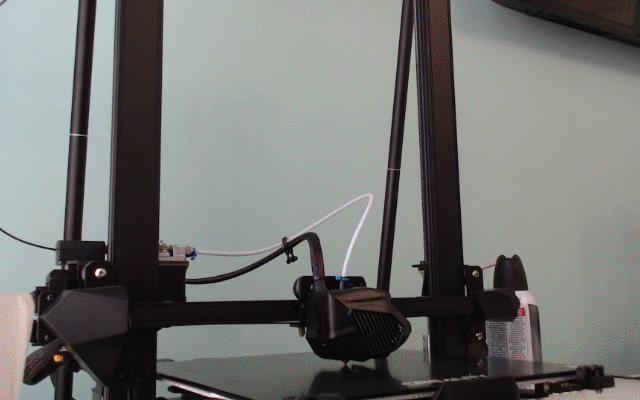
The Mjölnir hammer was the first thing I 3D printed for the costume! Used both my CR6 and CR10 SMART 3D printers and black PLA+ with 10-20% infill. Sanded then super glued the parts together; finished with Silver Leaf Rub n’ Buff and brown acrylic paint. Used a scrap piece of leather for the handle.


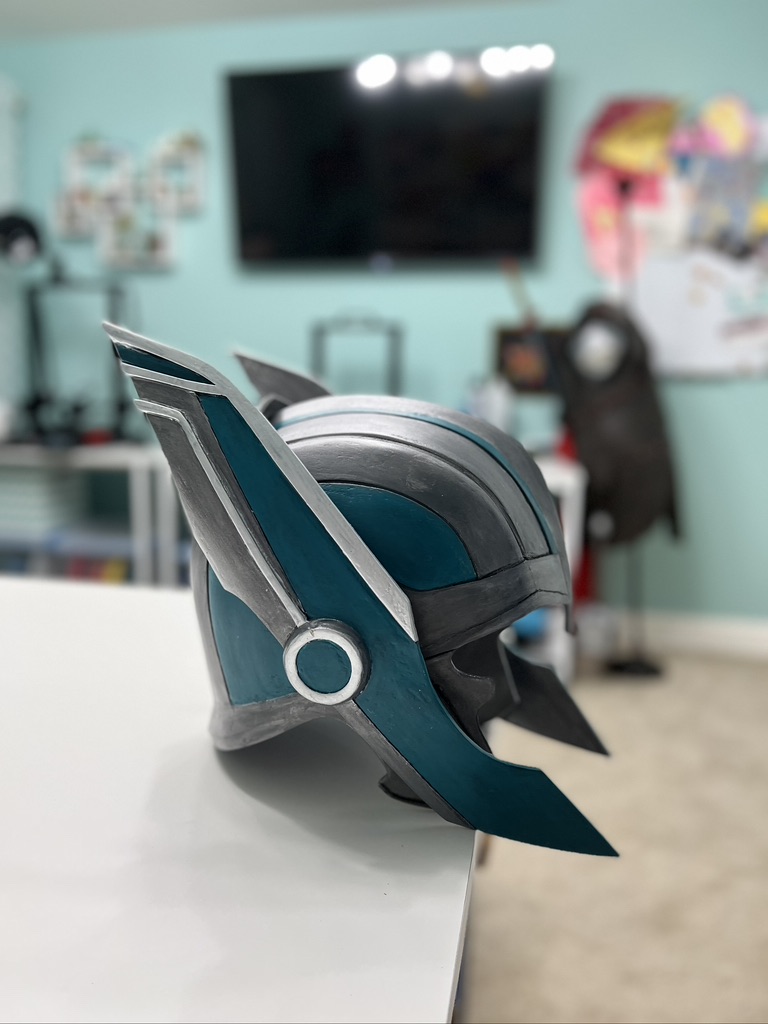
The Helmet
For the helmet, 3D printed on my CR10 SMART with black PLA+ and 10-20% infill. To smooth out the prints, used a combo of sanding, wood filler, spray paint filler, and sandable black spray paint. Then finished them with acrylic paint (silver, grey, and turquoise); darkened with grey on top and black accents along the creases. Used magnets to attach the wings to the helmet.


The Hair
The Thor Ragnarok costume wouldn’t be complete without the Z and V cut into Scott’s hair!


Chest Armor
Started by making a manikin via wrapping Scott with duck tape over a shirt and saran wrap. Then cut it off down the back and filled it with old pillow cotton. Shaped the armor with a heat gun around the manikin using 2mm EVA foam and hand drew the design with a silver Sharpie. For the front, cut out a portion of pieces (4 per side) from 6mm EVA foam (just enough to be able to angle the chest pieces to accentuate the pecs); glued them together with hot glue. Then cut the 2mm pieces into individual pieces and hot glued on top of the 6mm base (this helped to hold the pec shape and accentuate the abs). Drew extra details (lines and rivets) with marker, and imprinted using a wood burner. Used this YouTube video for some tips, but opted to free-hand draw the design to fit Scott exactly.
For the back armor, just shaped 2mm EVA foam to the manikin, drew the design, and imprinted with wood burner (didn’t bother with a 6 mm base since the back isn’t very visible).
Created the neck and shoulder crossover piece with 2mm EVA (free hand drew and cut). For the shoulder blade pieces, just used 6 mm EVA semi-circle pieces trimmed to fit underneath the armor.
Finished all the EVA with multiple coats of PLASTI DIP rubber coating spray paint and thin coat of brown acrylic applied with foam brush (wiped off excess with paper towel and applied thicker along the edges). Hot glued the neck and shoulder pieces to the back armor; added velcro to the sides and top to attach the front to the back armor and additional spots as need to attach other accessories (shoulder crossover, cape, shoulder strap).


Shoulder Plates, Cape, Strap, and Belt
3D printed the belt buckle and shoulder plates with black PLA+ on my CR6. Smoothed with wood filler and finished with a combo of shades of Rub n’ Buff (Pewter, Silver Leaf, Gold Leaf, and Spanish Copper). Repurposed some old brown belts from Goodwill for the shoulder strap and belt and added some extra details with black rivets, old buckles, and a wood burner.
For the cape, bought a yard of 60″ red cotton fabric and fringed the end using a seam ripper. Folded the top like a fan, threaded it together, and super glued it to the right shoulder plate. Added velcro to the shoulder plate to hold it to the armor.
Repurposed some old brown belts from Goodwill for the shoulder strap and belt and added some extra details with black rivets, old buckles, and a wood burner. Added velcro to both sides of the shoulder strap to hold it in place on the armor and attach to the left shoulder plate with the cape.


Fauld Armor
For Thor’s fauld (skirt) armor, created the outer portions from 2mm EVA foam texturized to look like leather (via aluminum foil and ironing) and the middle portion with sewed brown suede. Added the creases/details on the EVA using a wood burner and finished with black primer spray paint and brown acrylic paint. Added velcro to attach it to the bottom of the chest armor.


Shoulder Armor/Bracers
For the shoulder armor, 3D printed with my CR10 SMART and black PLA+ with 5% infill. To smooth, used a combo of sanding, wood filler, spray paint filler, and sandable black spray paint. Then finished them with turquoise acrylic paint (aged with black). Added velcro to the top and a leather strap at the base (glued on with super glue) to attach to top armor and stabilize it.
Made the bracers out of 6mm EVA foam, which I free-hand drew to fit Scott’s arms. Imprinted patterns with wood burner, shaped with heat gun; finished with PLASTI Dip spray paint and brown acrylic paint applied lightly with foam brush. Attached together with black rivets and added leather straps using scrap materials/rivets/buckles.


Leg/Knee Armor
For the leg armor pieces, used both my CR6 and CR10 SMART printers with black PLA+ and 5-10% infill. Glued knee cap to leg portion with super glue. Like with the shoulder armor, smoothed prints with a combo of sanding, wood filler, spray paint filler, and sandable black spray paint and finished with turquoise acrylic paint (aged with black).
Made boot covers and knee armor from EVA foam finished with black spray paint. Used brown acrylic paint on the knee armor and red paint for the symbols on the left one. Added black leather straps to the back of the leg armor and knee armor by super gluing each end and included rivets for attaching to the leg. Used some old brown leather strips to wrap around each boot cover.


Red Paint
Added the last touch to all the armor with the symbols using red acrylic paint.


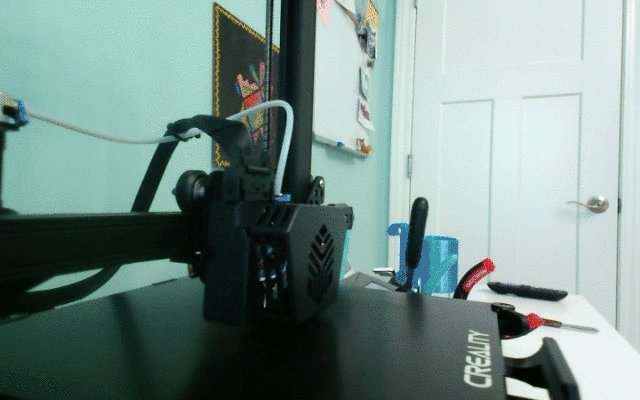
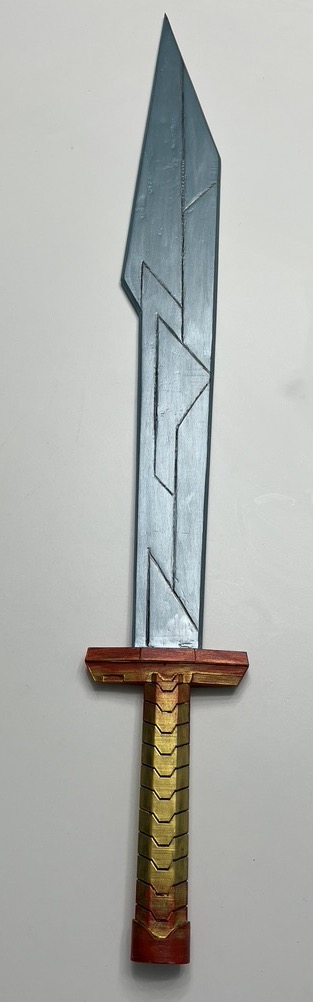
The Swords
Printed the swords with both my CR6 and CR10 SMART using black PLA+ and 20% infill. Super glued the pieces together. Like other prints, smoothed out with a combo of sanding, wood filler, spray paint filler, and sandable black spray paint. Then finished with acrylic paint (silver blended with turquoise and sparkly blue for the sword; gold base with red foam brush applied in a gradient on top for the hilt). Added some leather belt scraps via rivets to the belt and shoulder strap to insert the swords on the back.


STL Renaissance Festival
We had a blast at the Renaissance Festival with our friends Geran and Anne, that we met two years ago after competing against each other in the Game of Thrones costume contest. This is the 3rd year in a row we’ve won costume contests 🙂 Scott even won a pie eating contest this year!


3 Comments
Simply amazing Sarah!
Thanks! 🙂
[…] out my original Thor Ragnarok Cosplay blog for details on the main costume build. Here’s instructions on the the shield and hammer […]