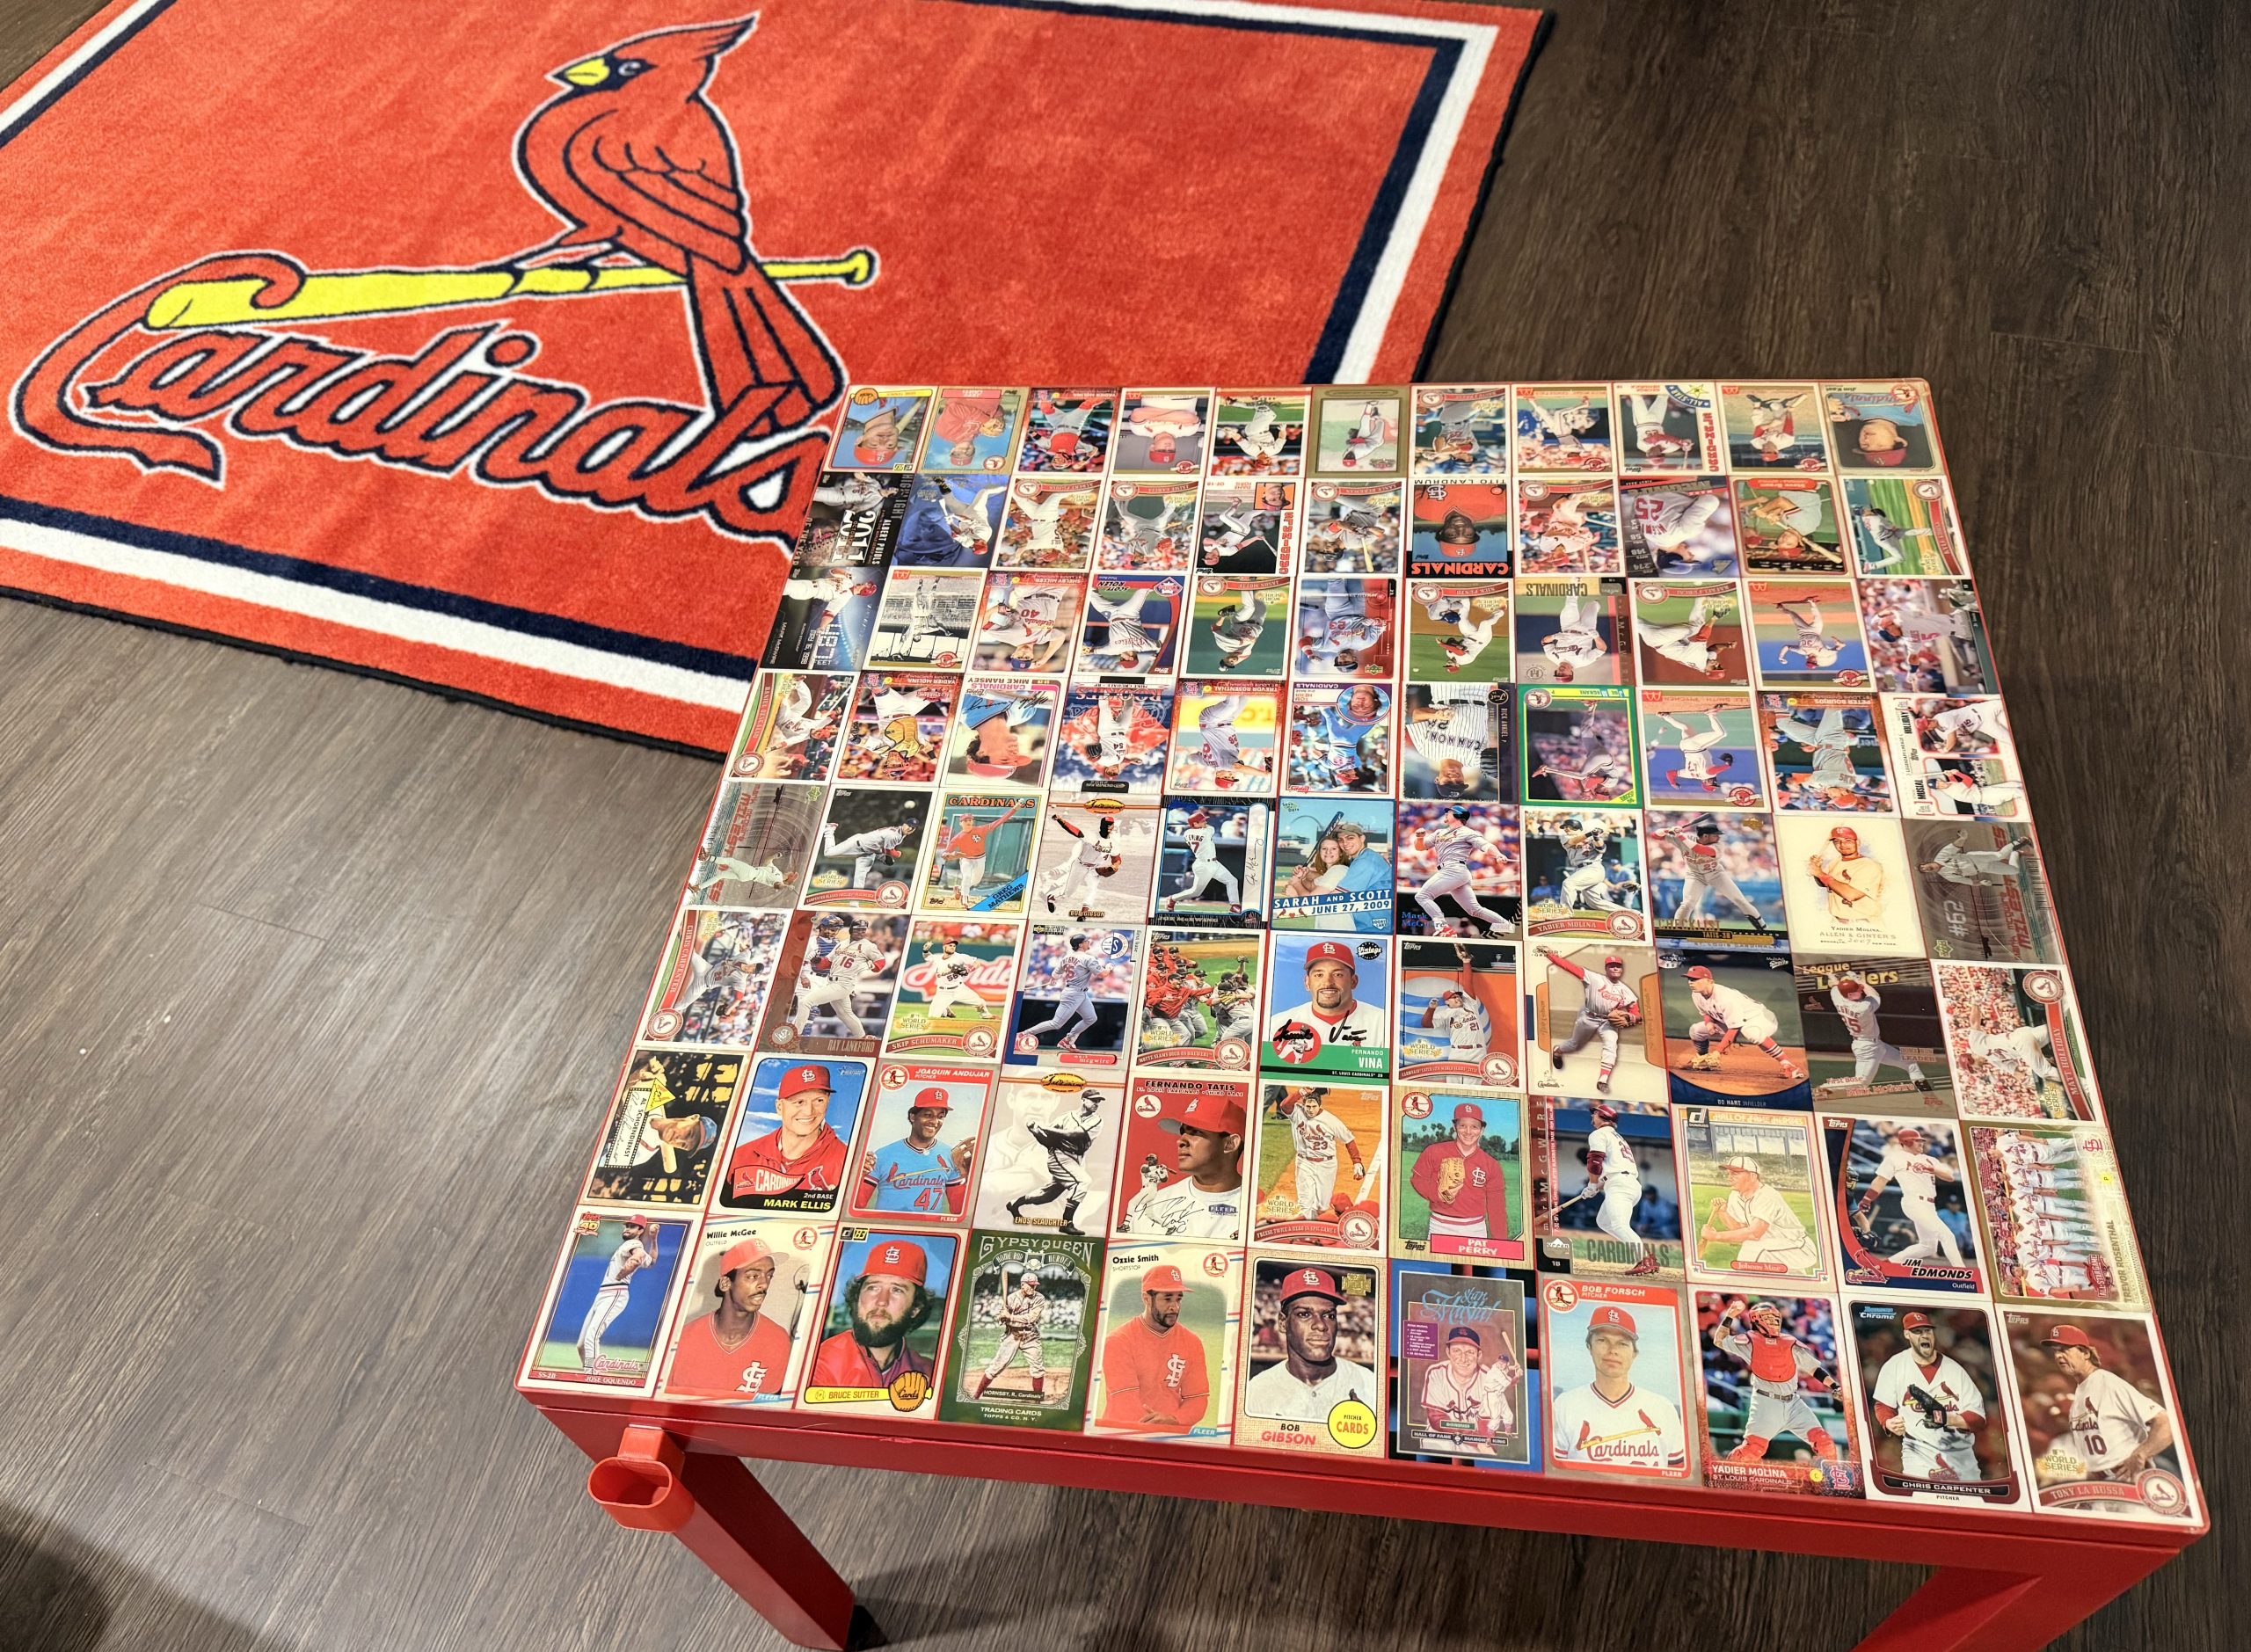
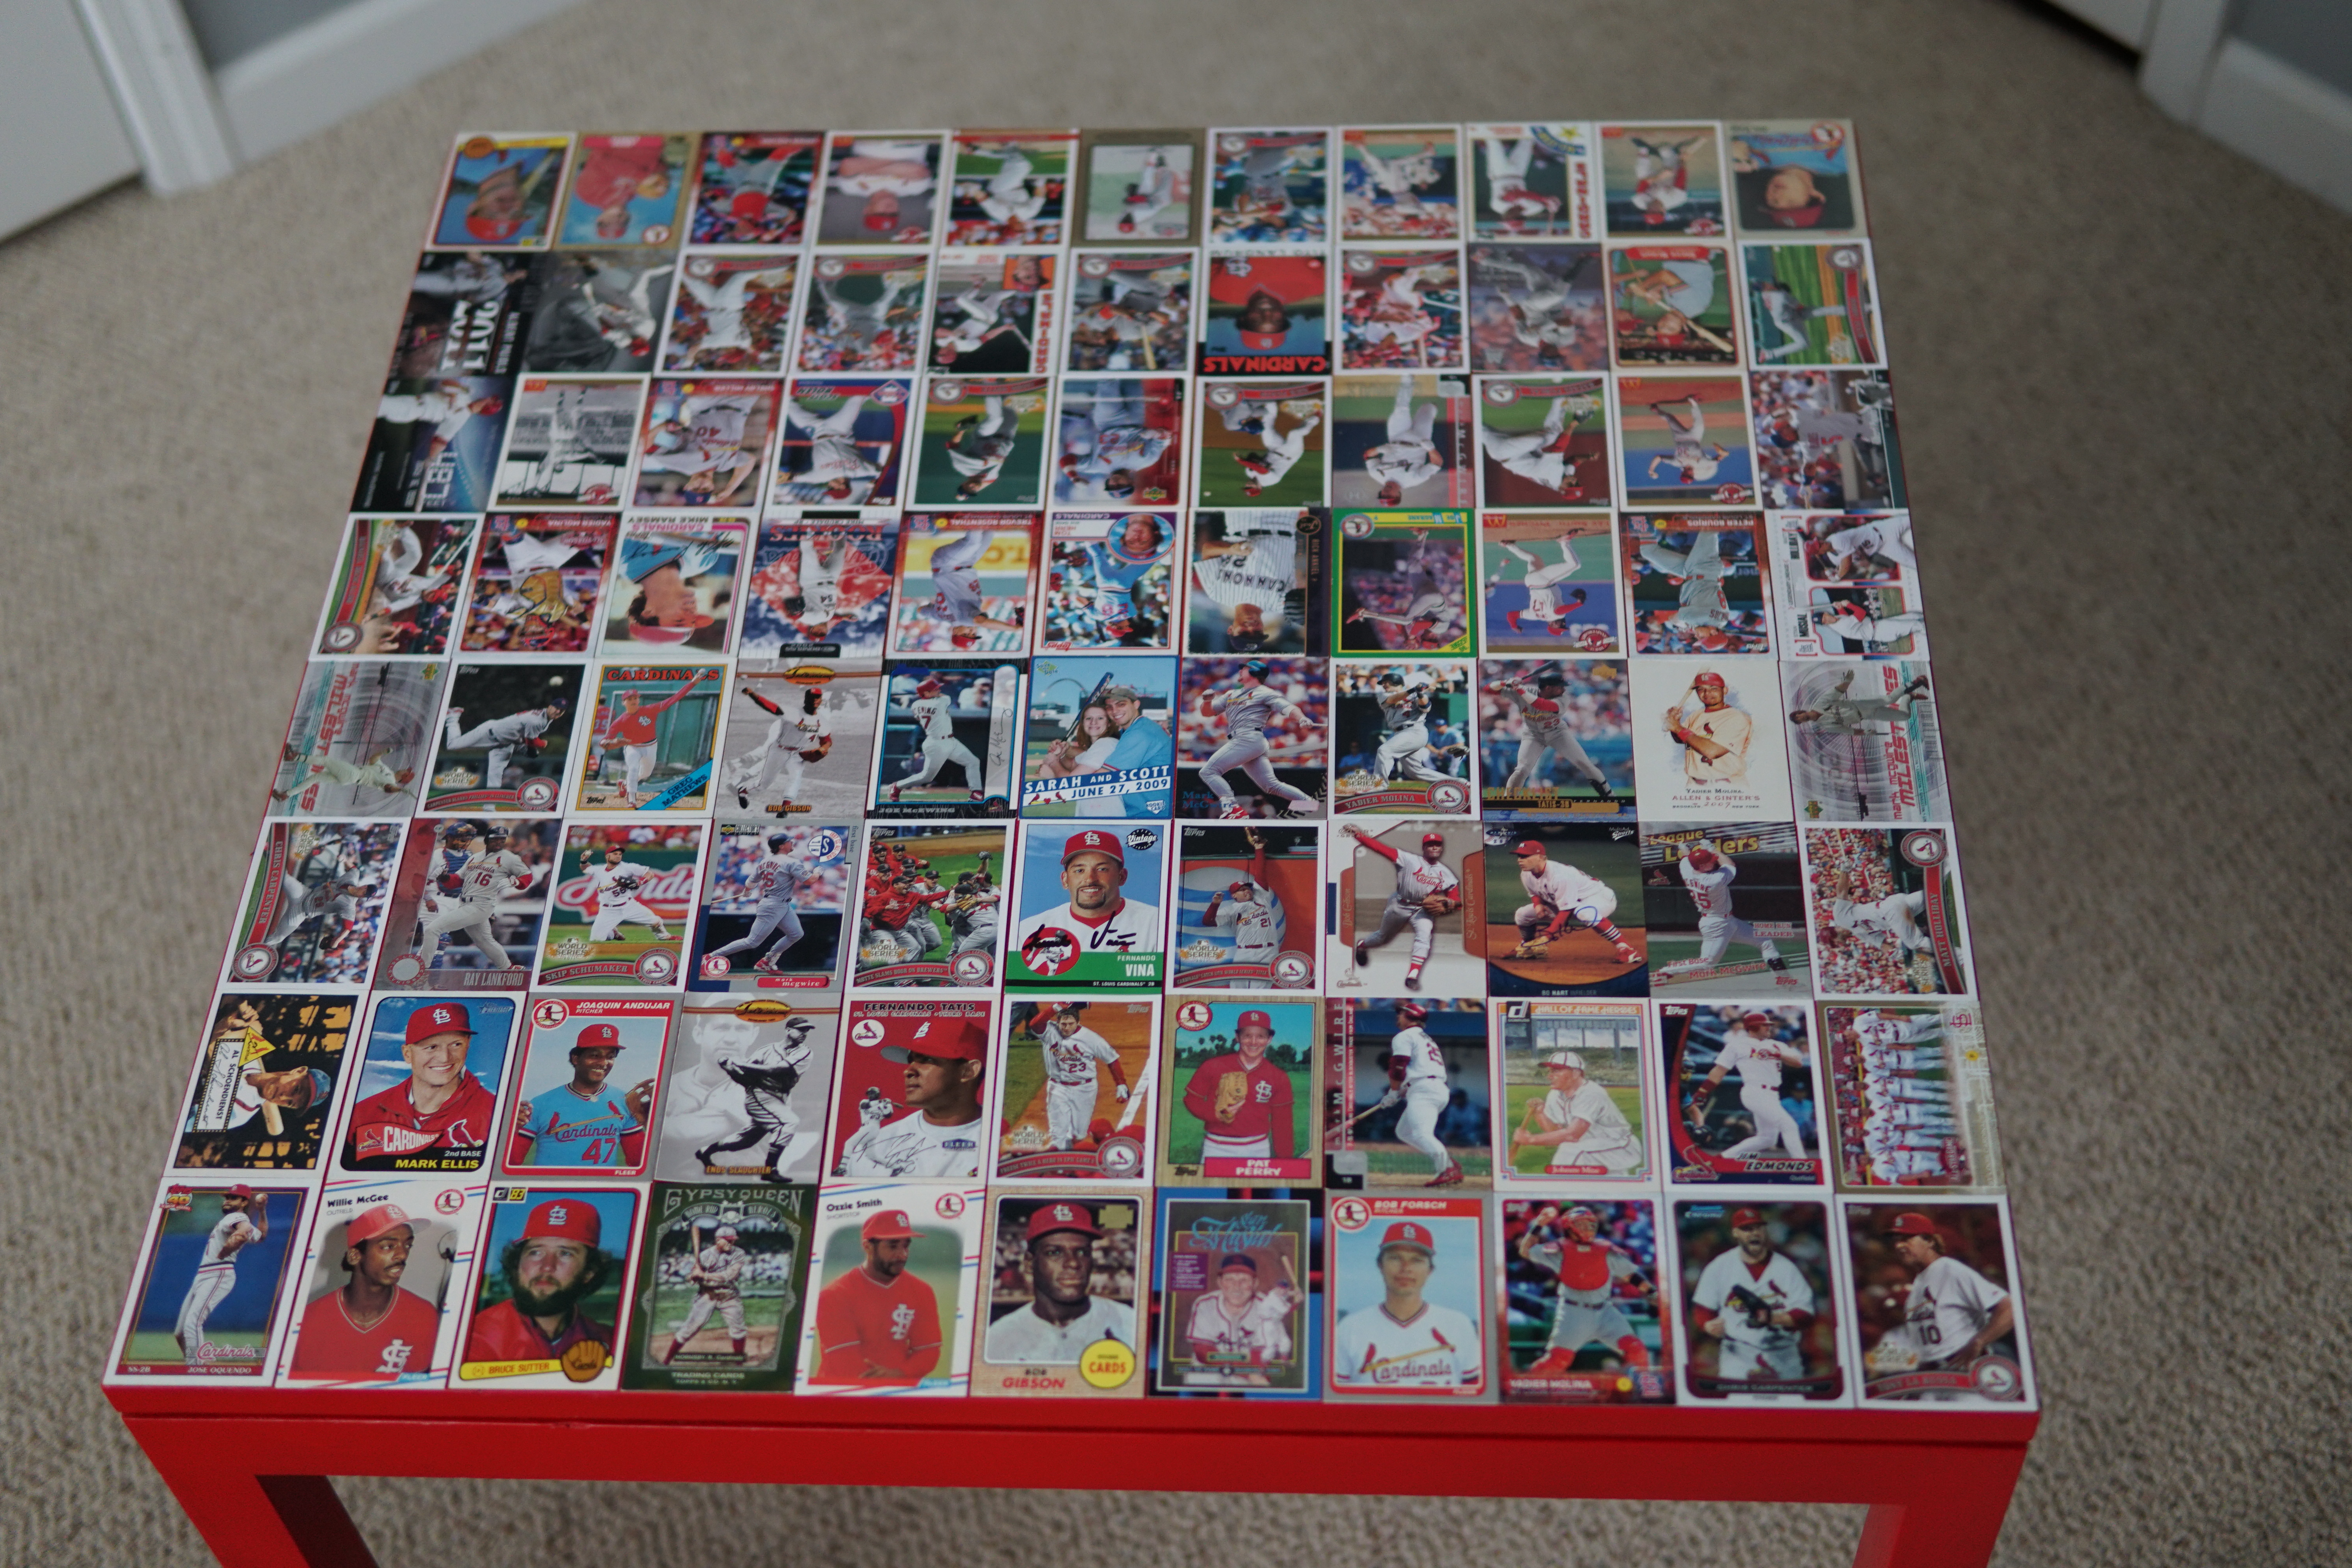
Looking to add some extra flair to our Cardinals-themed basement, I decided to turn a practical need into a fun DIY project. This custom side table became the perfect way to showcase our collection of St. Louis Cardinals baseball cards—each one filled with memories, big plays, and hometown pride. If you look closely, you can see our Save the Date from our Cardinals wedding 🤪.
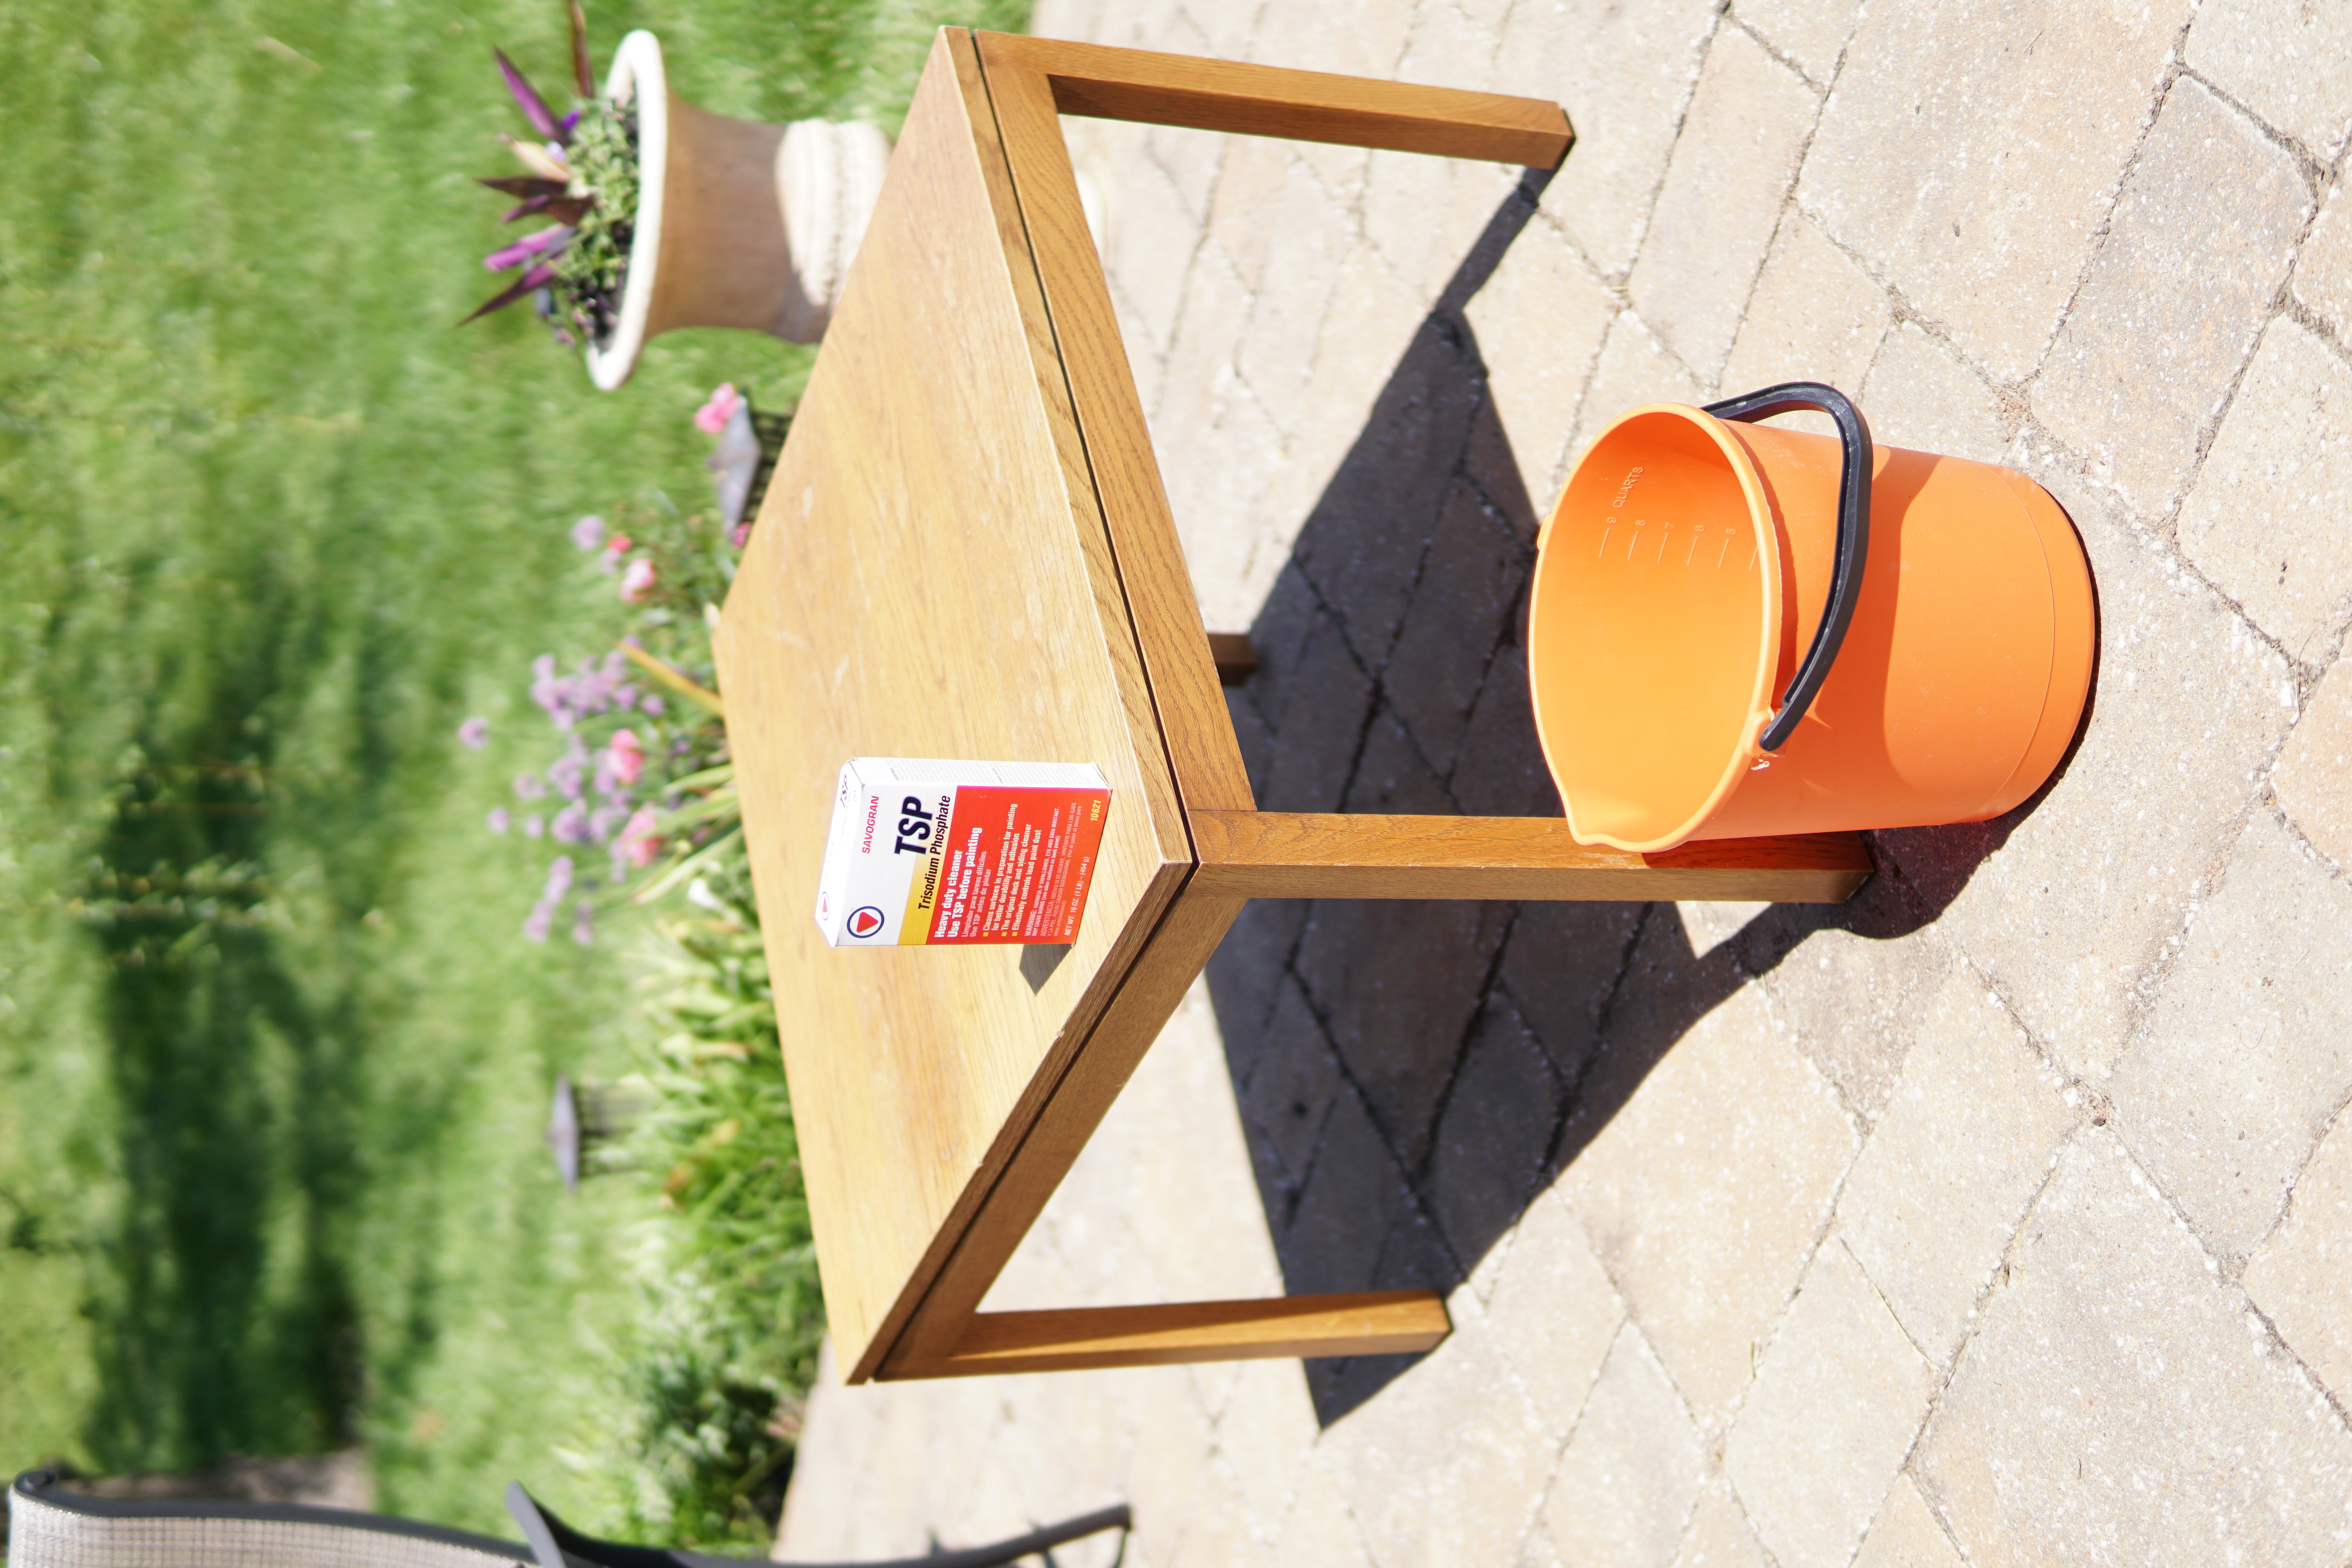
Clean table, if necessary. I used trisodium phosphate (TSP) to remove residue and the existing finish. Wear gloves and safety goggles when using TSP. Wipe down with clean water after cleaning and ensure to allow to fully dry (~24 hrs) before sanding/painting.
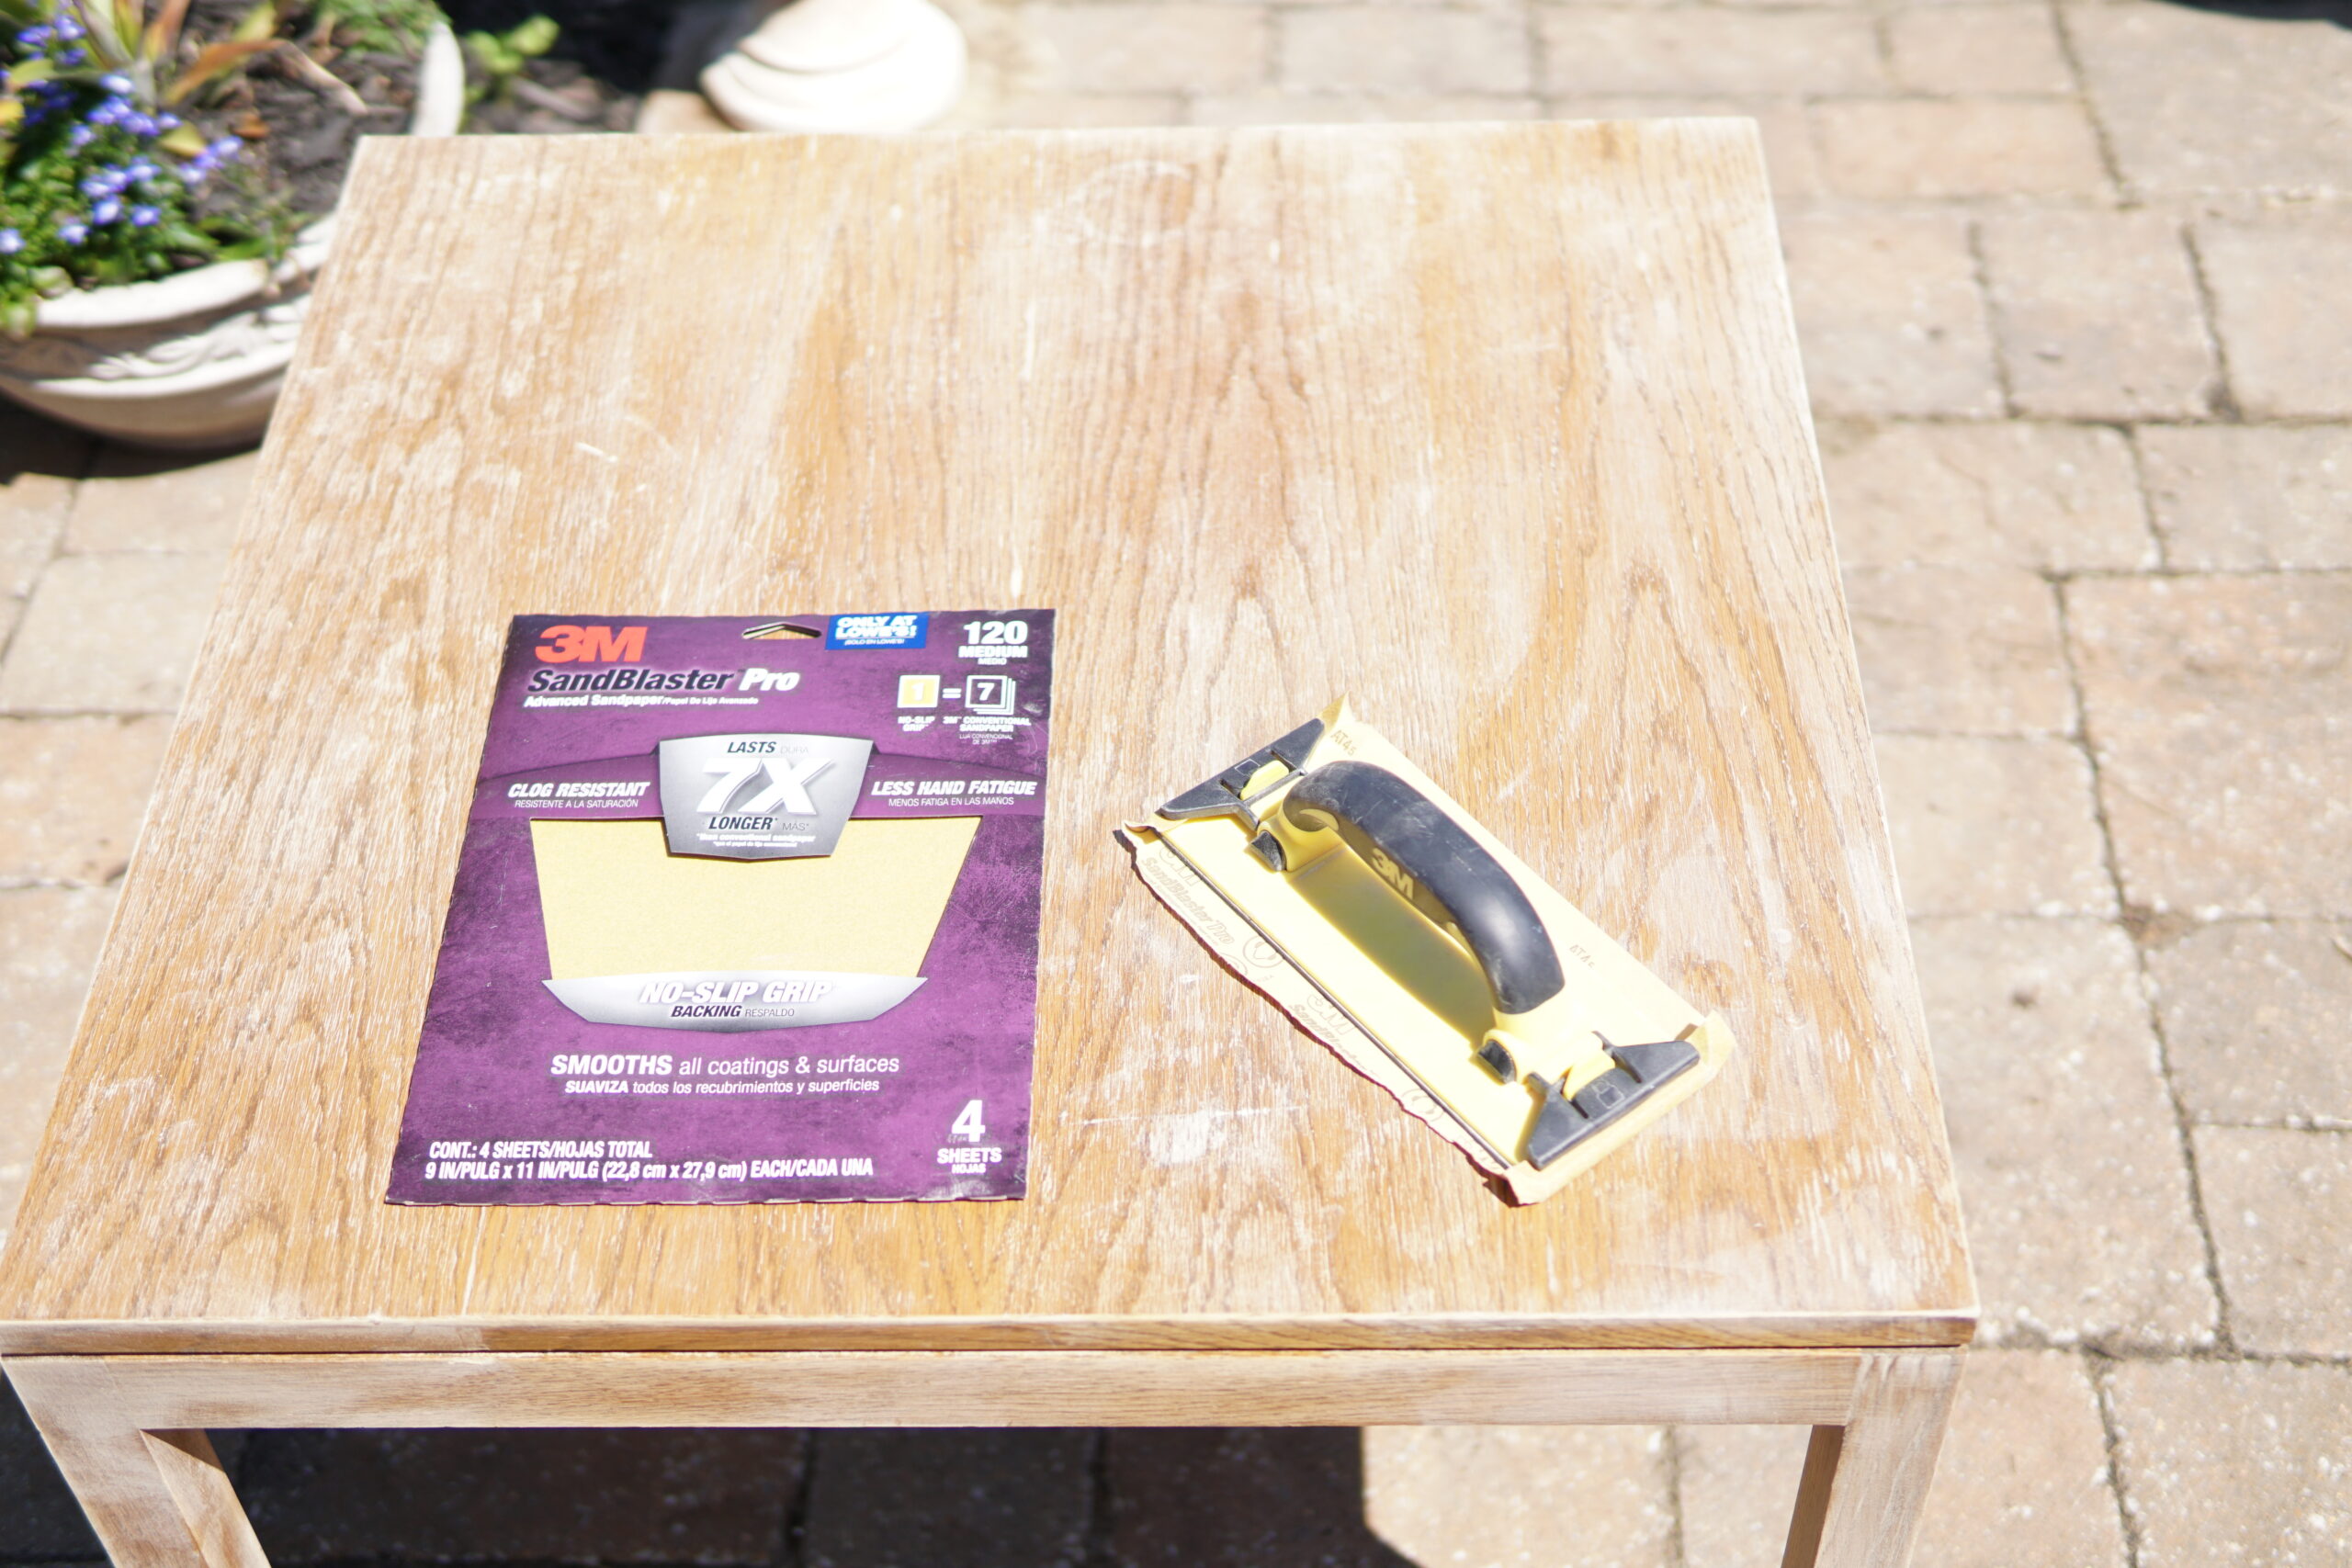
Sand table with medium sand paper.
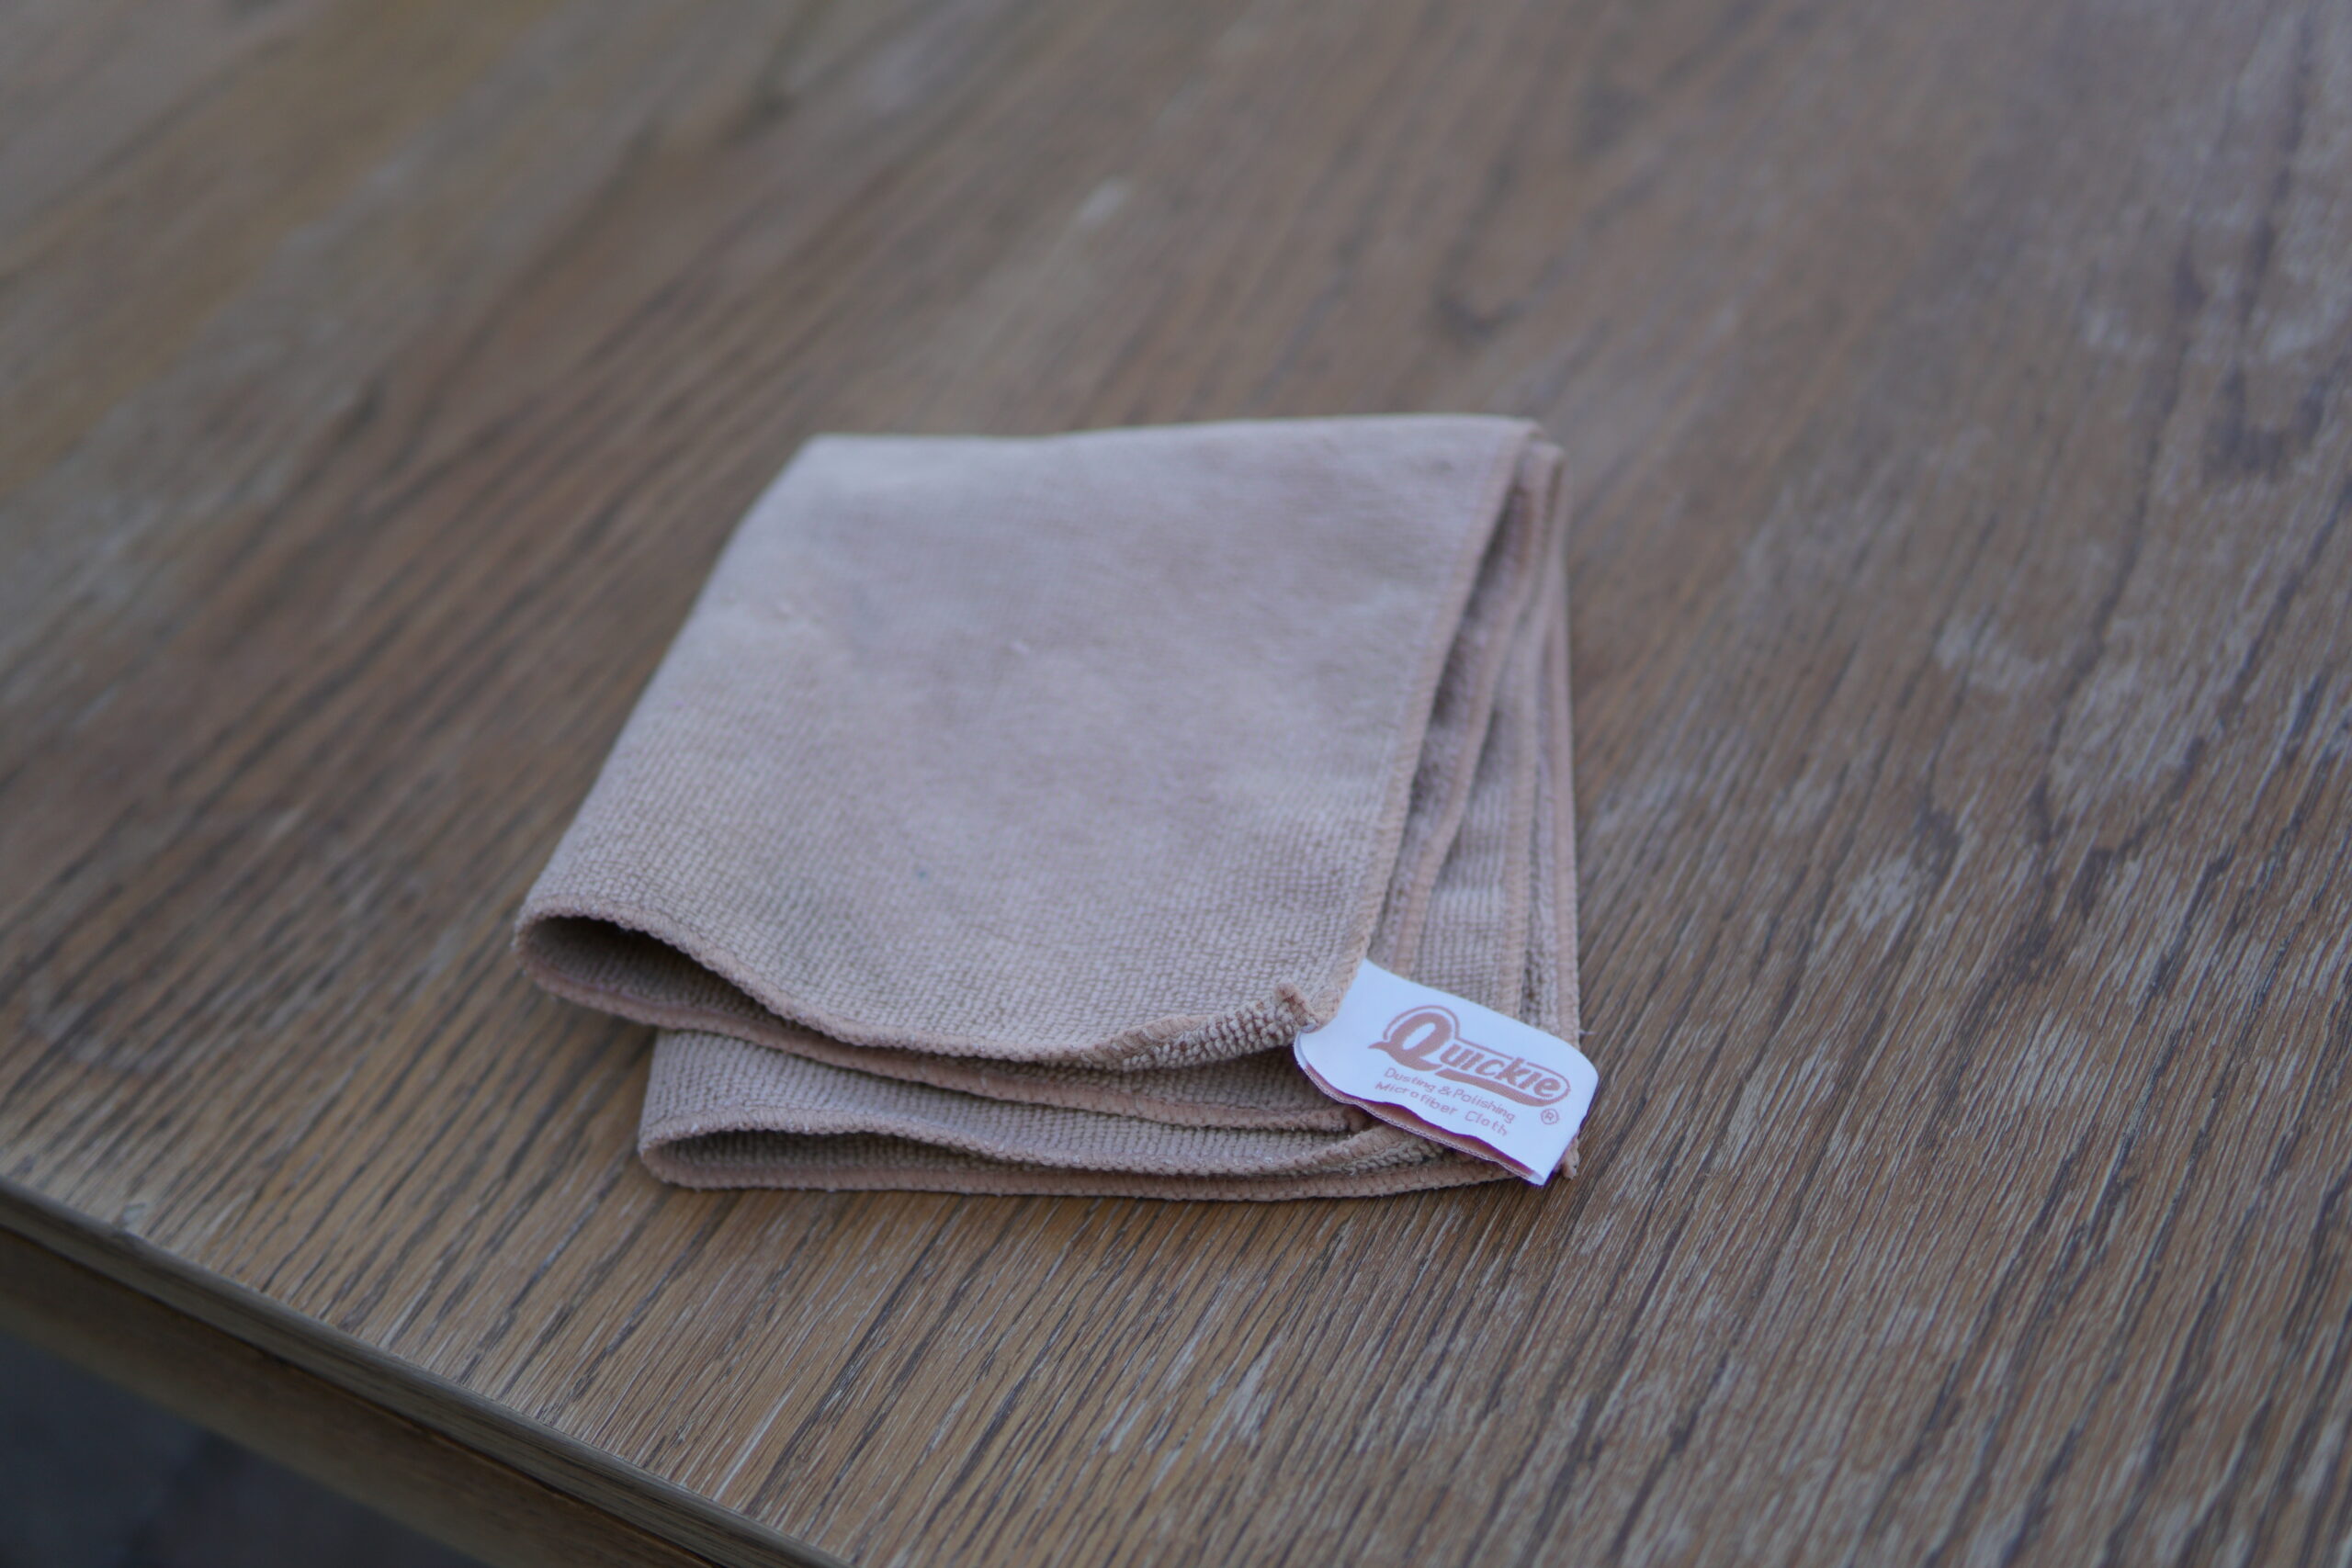
Wipe off residue with a microfiber or tack cloth.
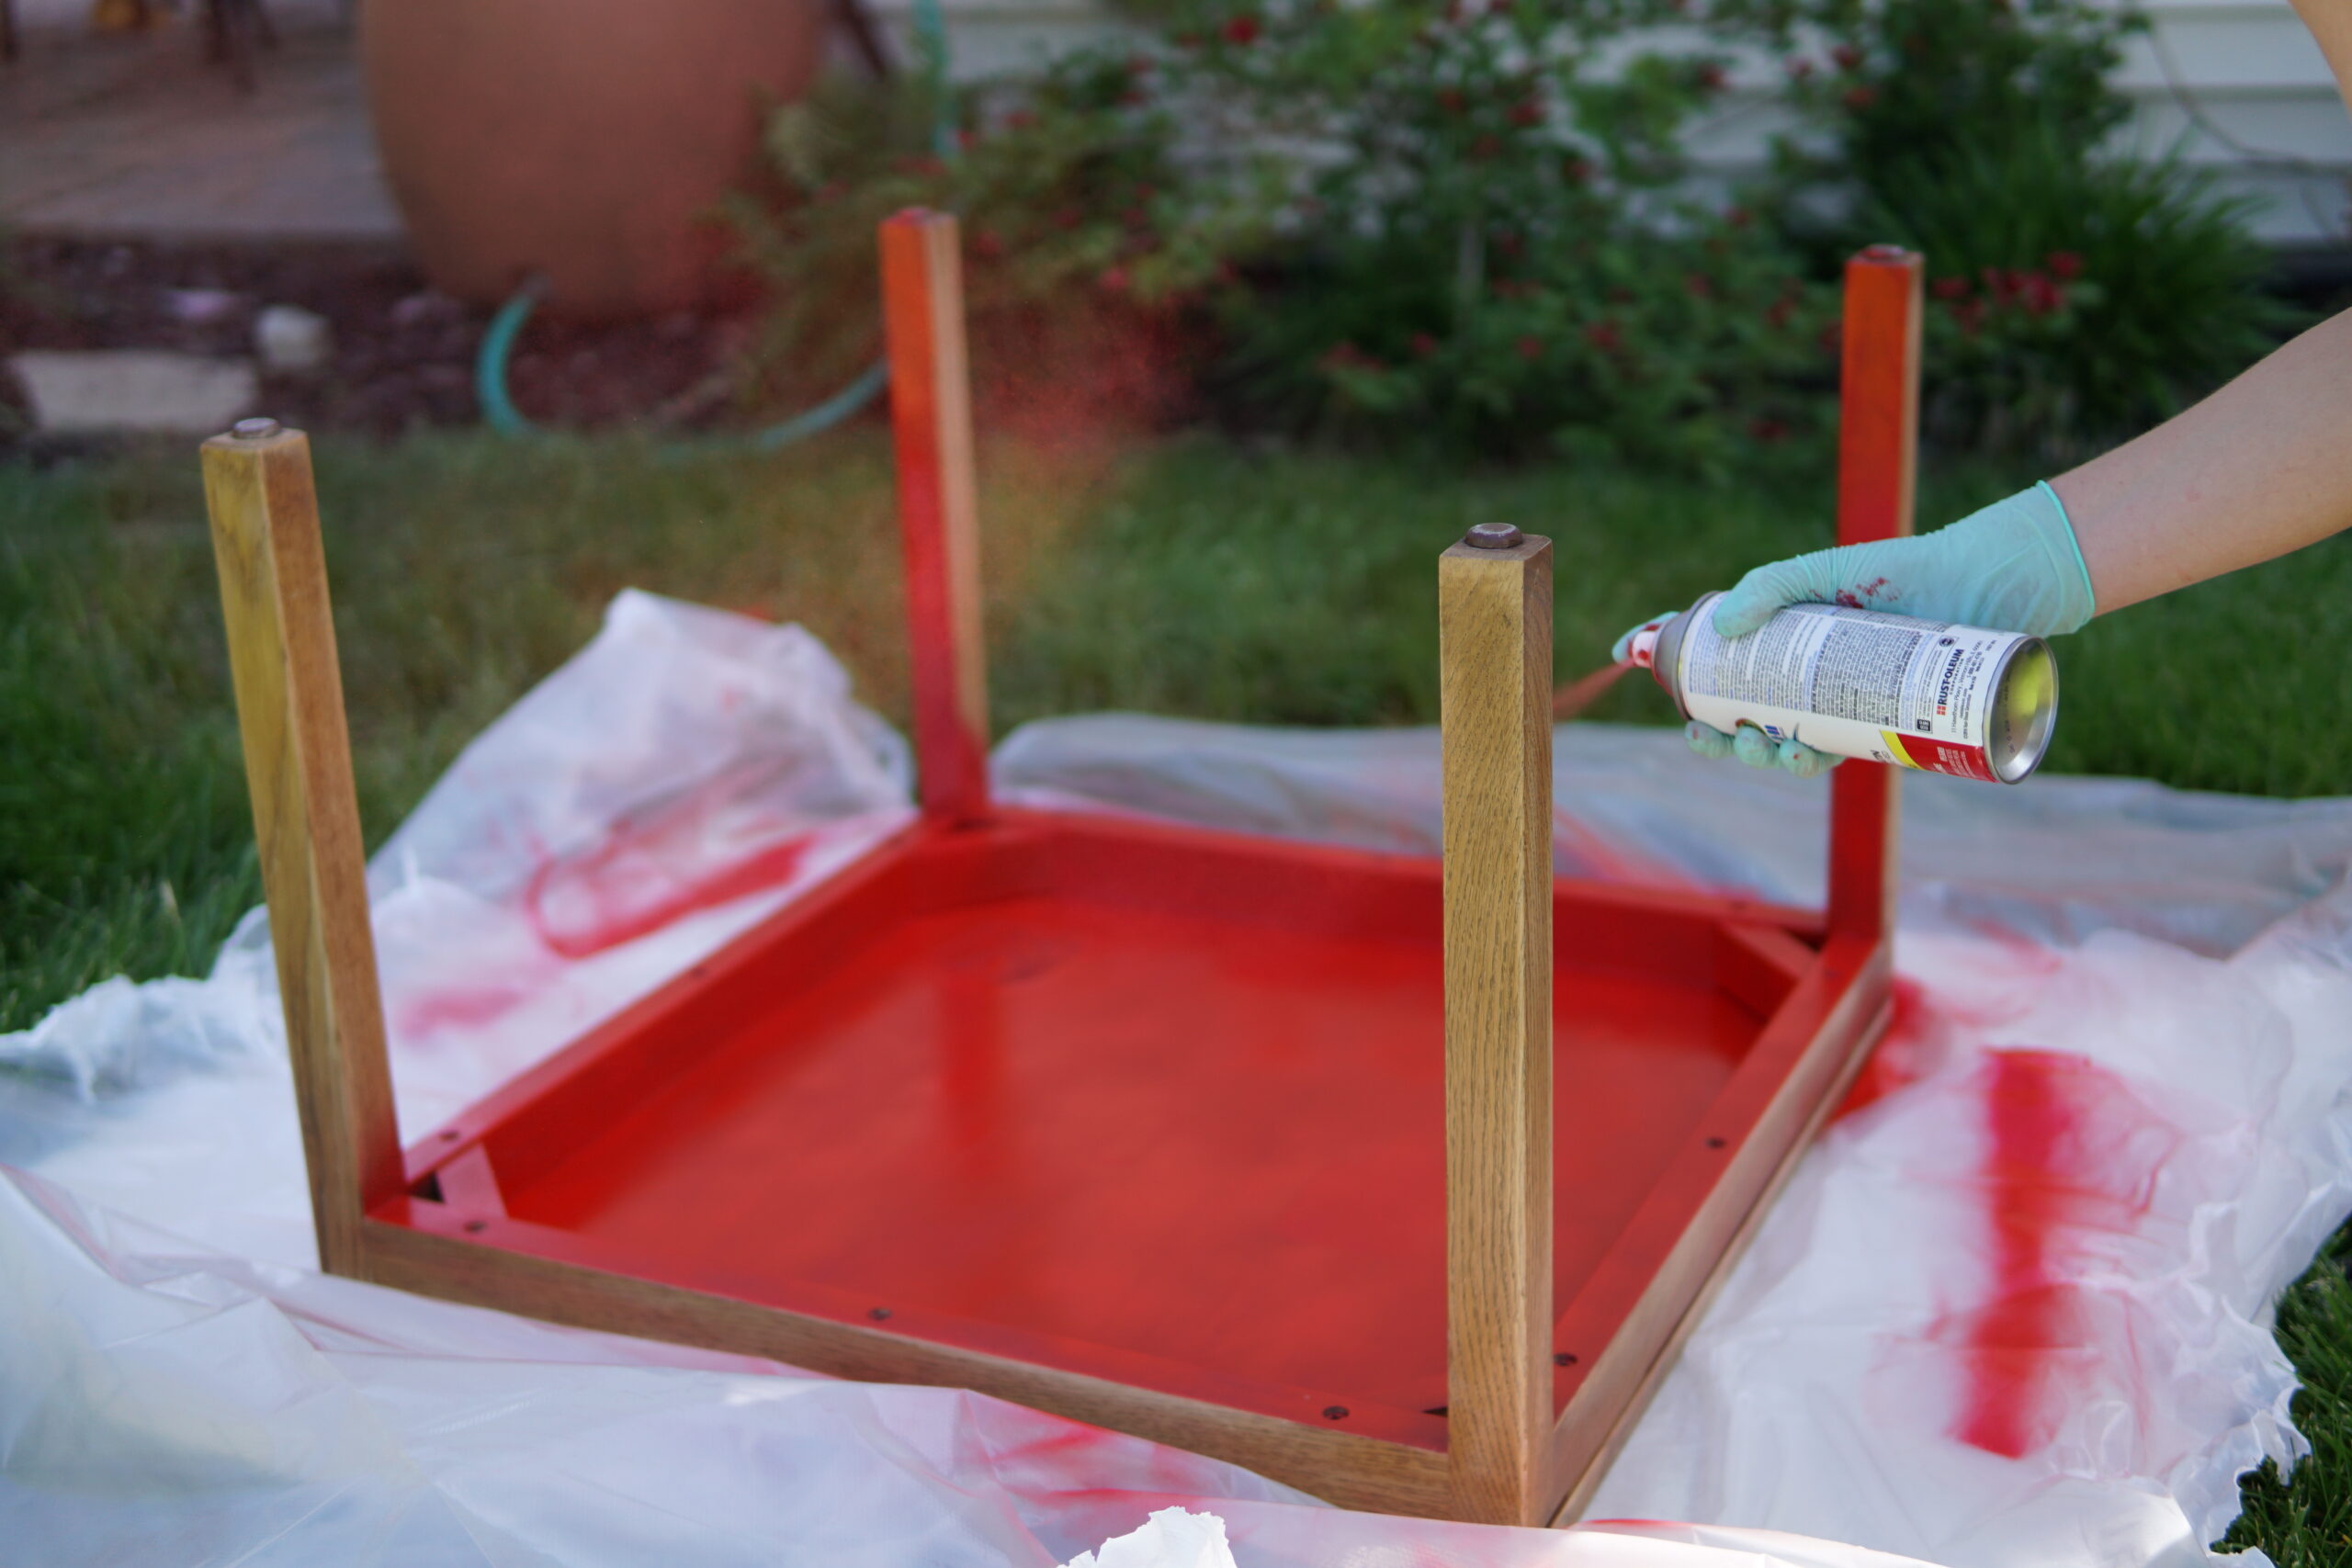
Spray paint table in a well ventilated area with at least two coats, allowing recommended drying time between coats (typically 1 hr). Paint underneath and then the top. I painted the top so that red would show between the baseball cards.
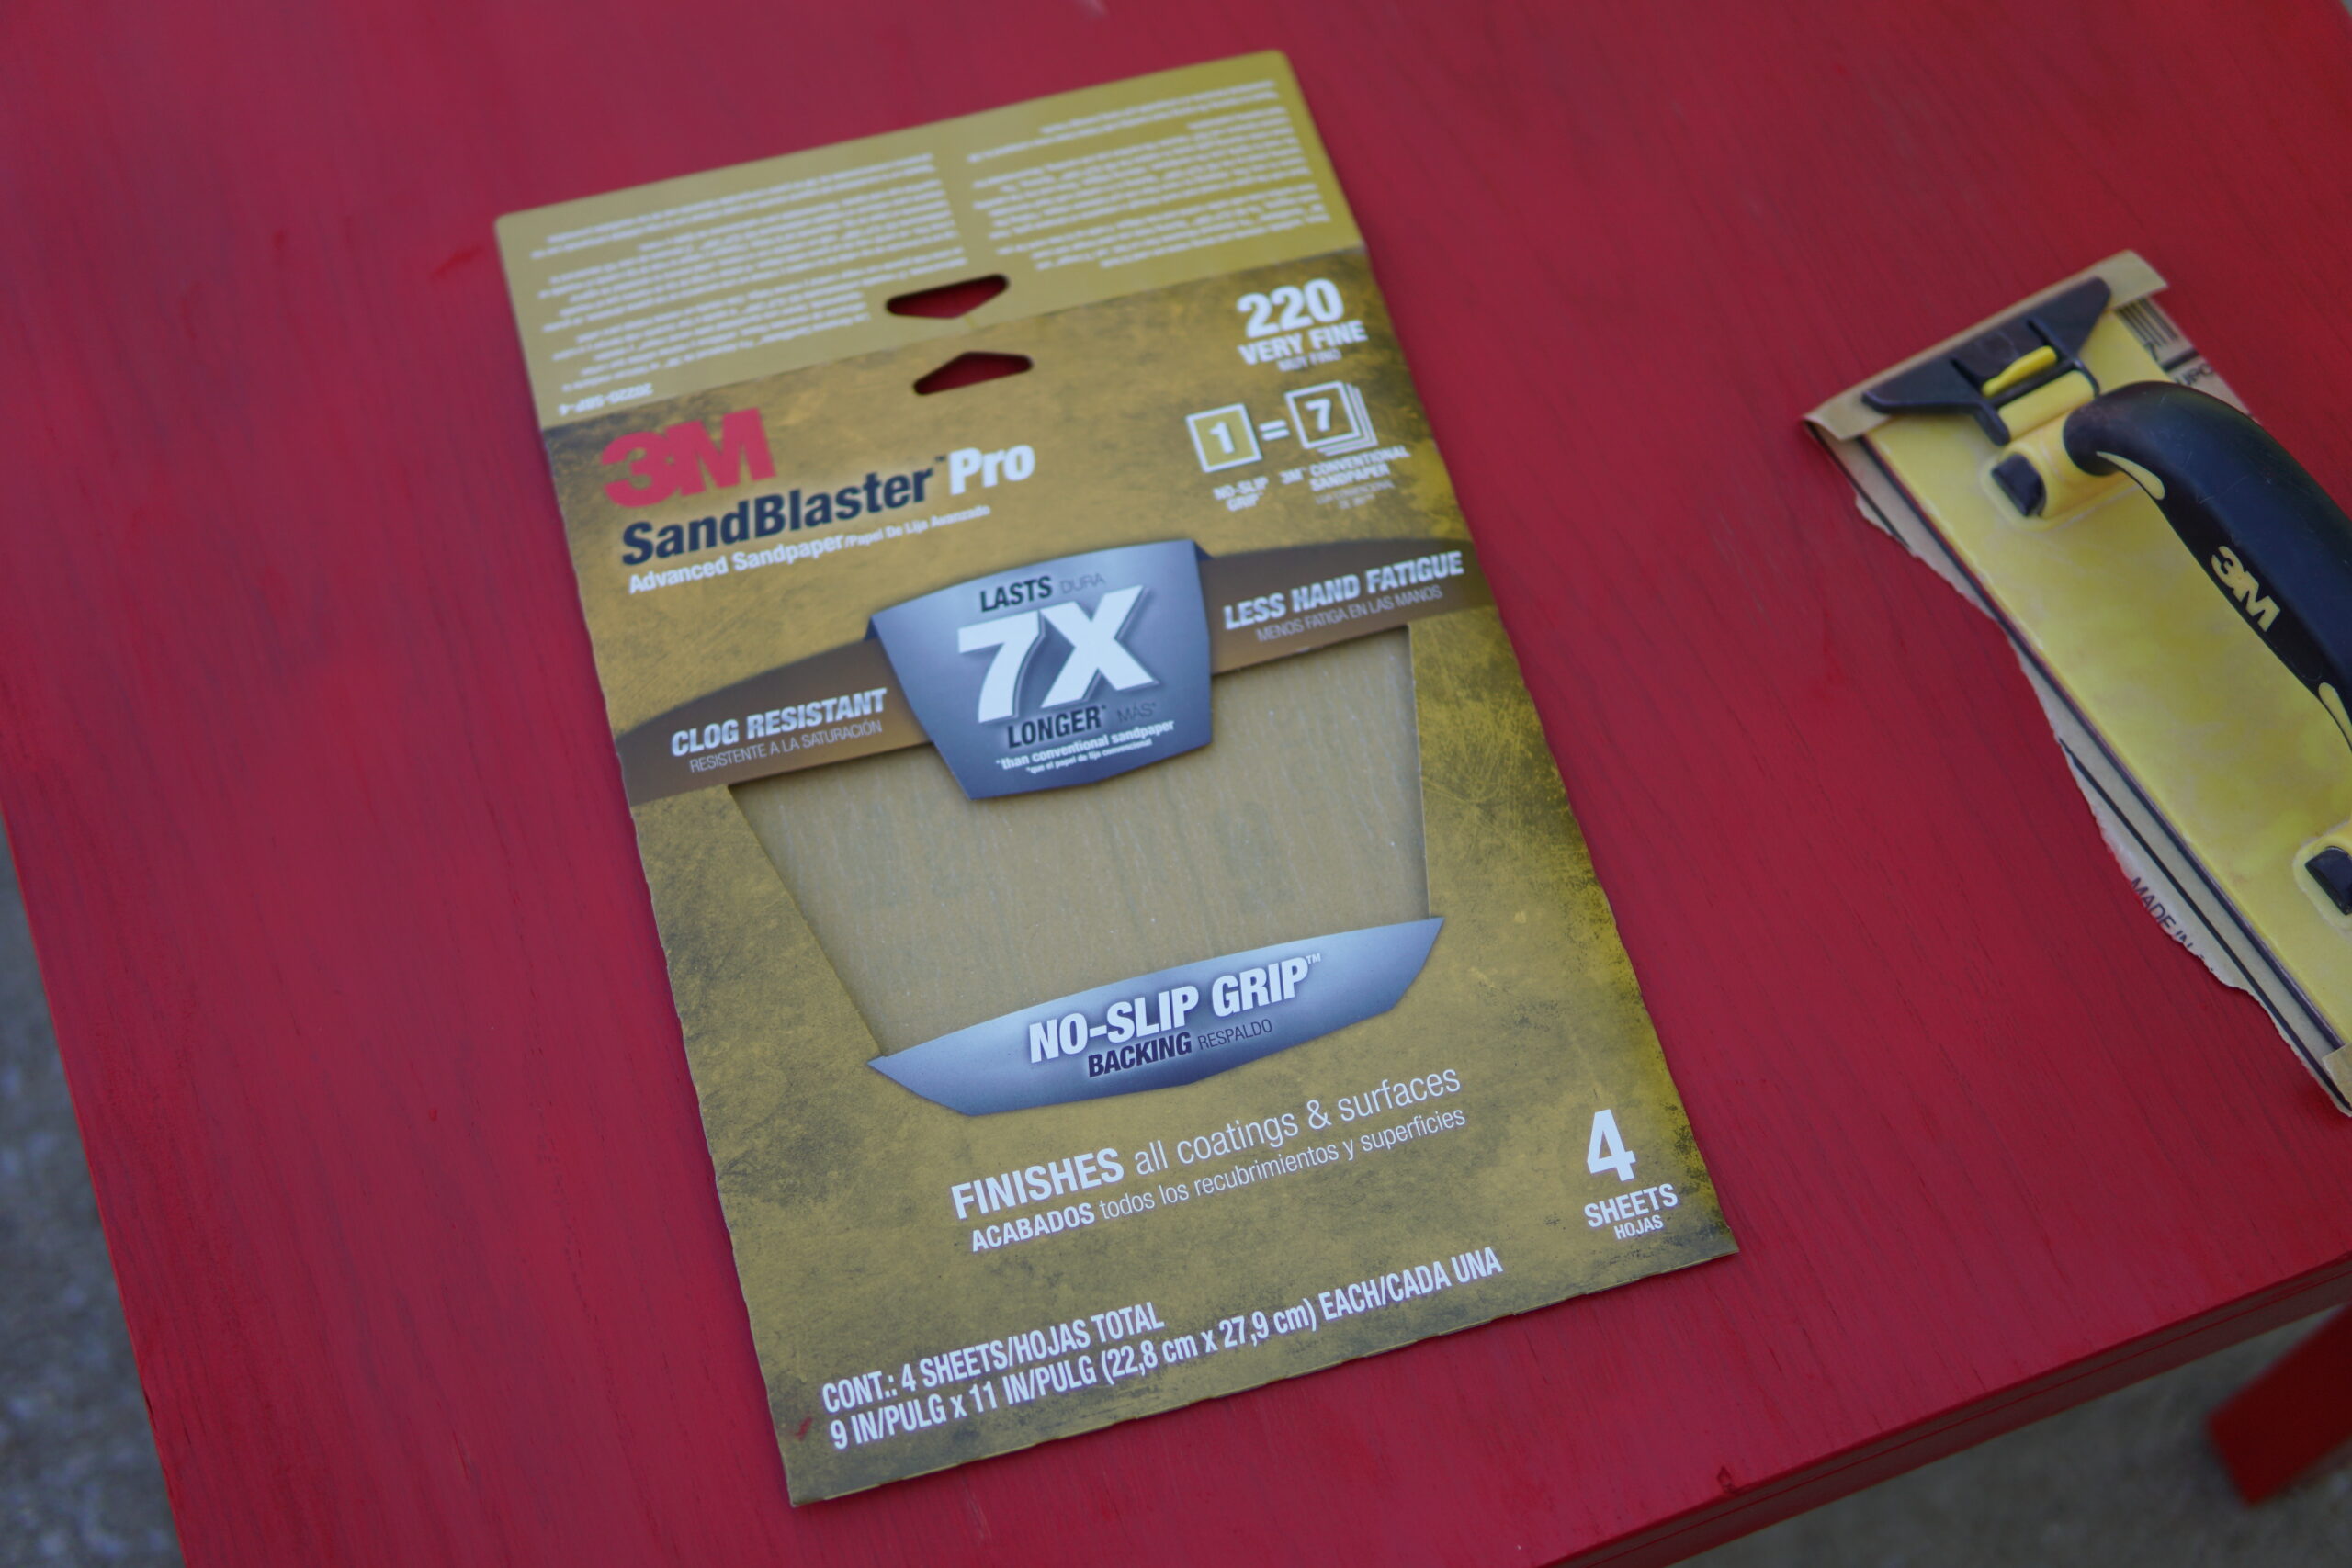
Sand top of table with very fine sand paper to improve adhesion of cards to tabletop.
Arrange cards on top of table.
Glue cards on top using spray glue (or other adhesive like mod podge).
Level: Place a drop cloth or a layer of newspaper atop your work surface. Set the table on the drop cloth. Place a level on table top to confirm it is level.
Create a tape barrier with masking/painter’s tape around the edges of the table top. Press the tape in place with the tape sticking up at least half an inch above the top of the table, creating a rim around the entire table top.
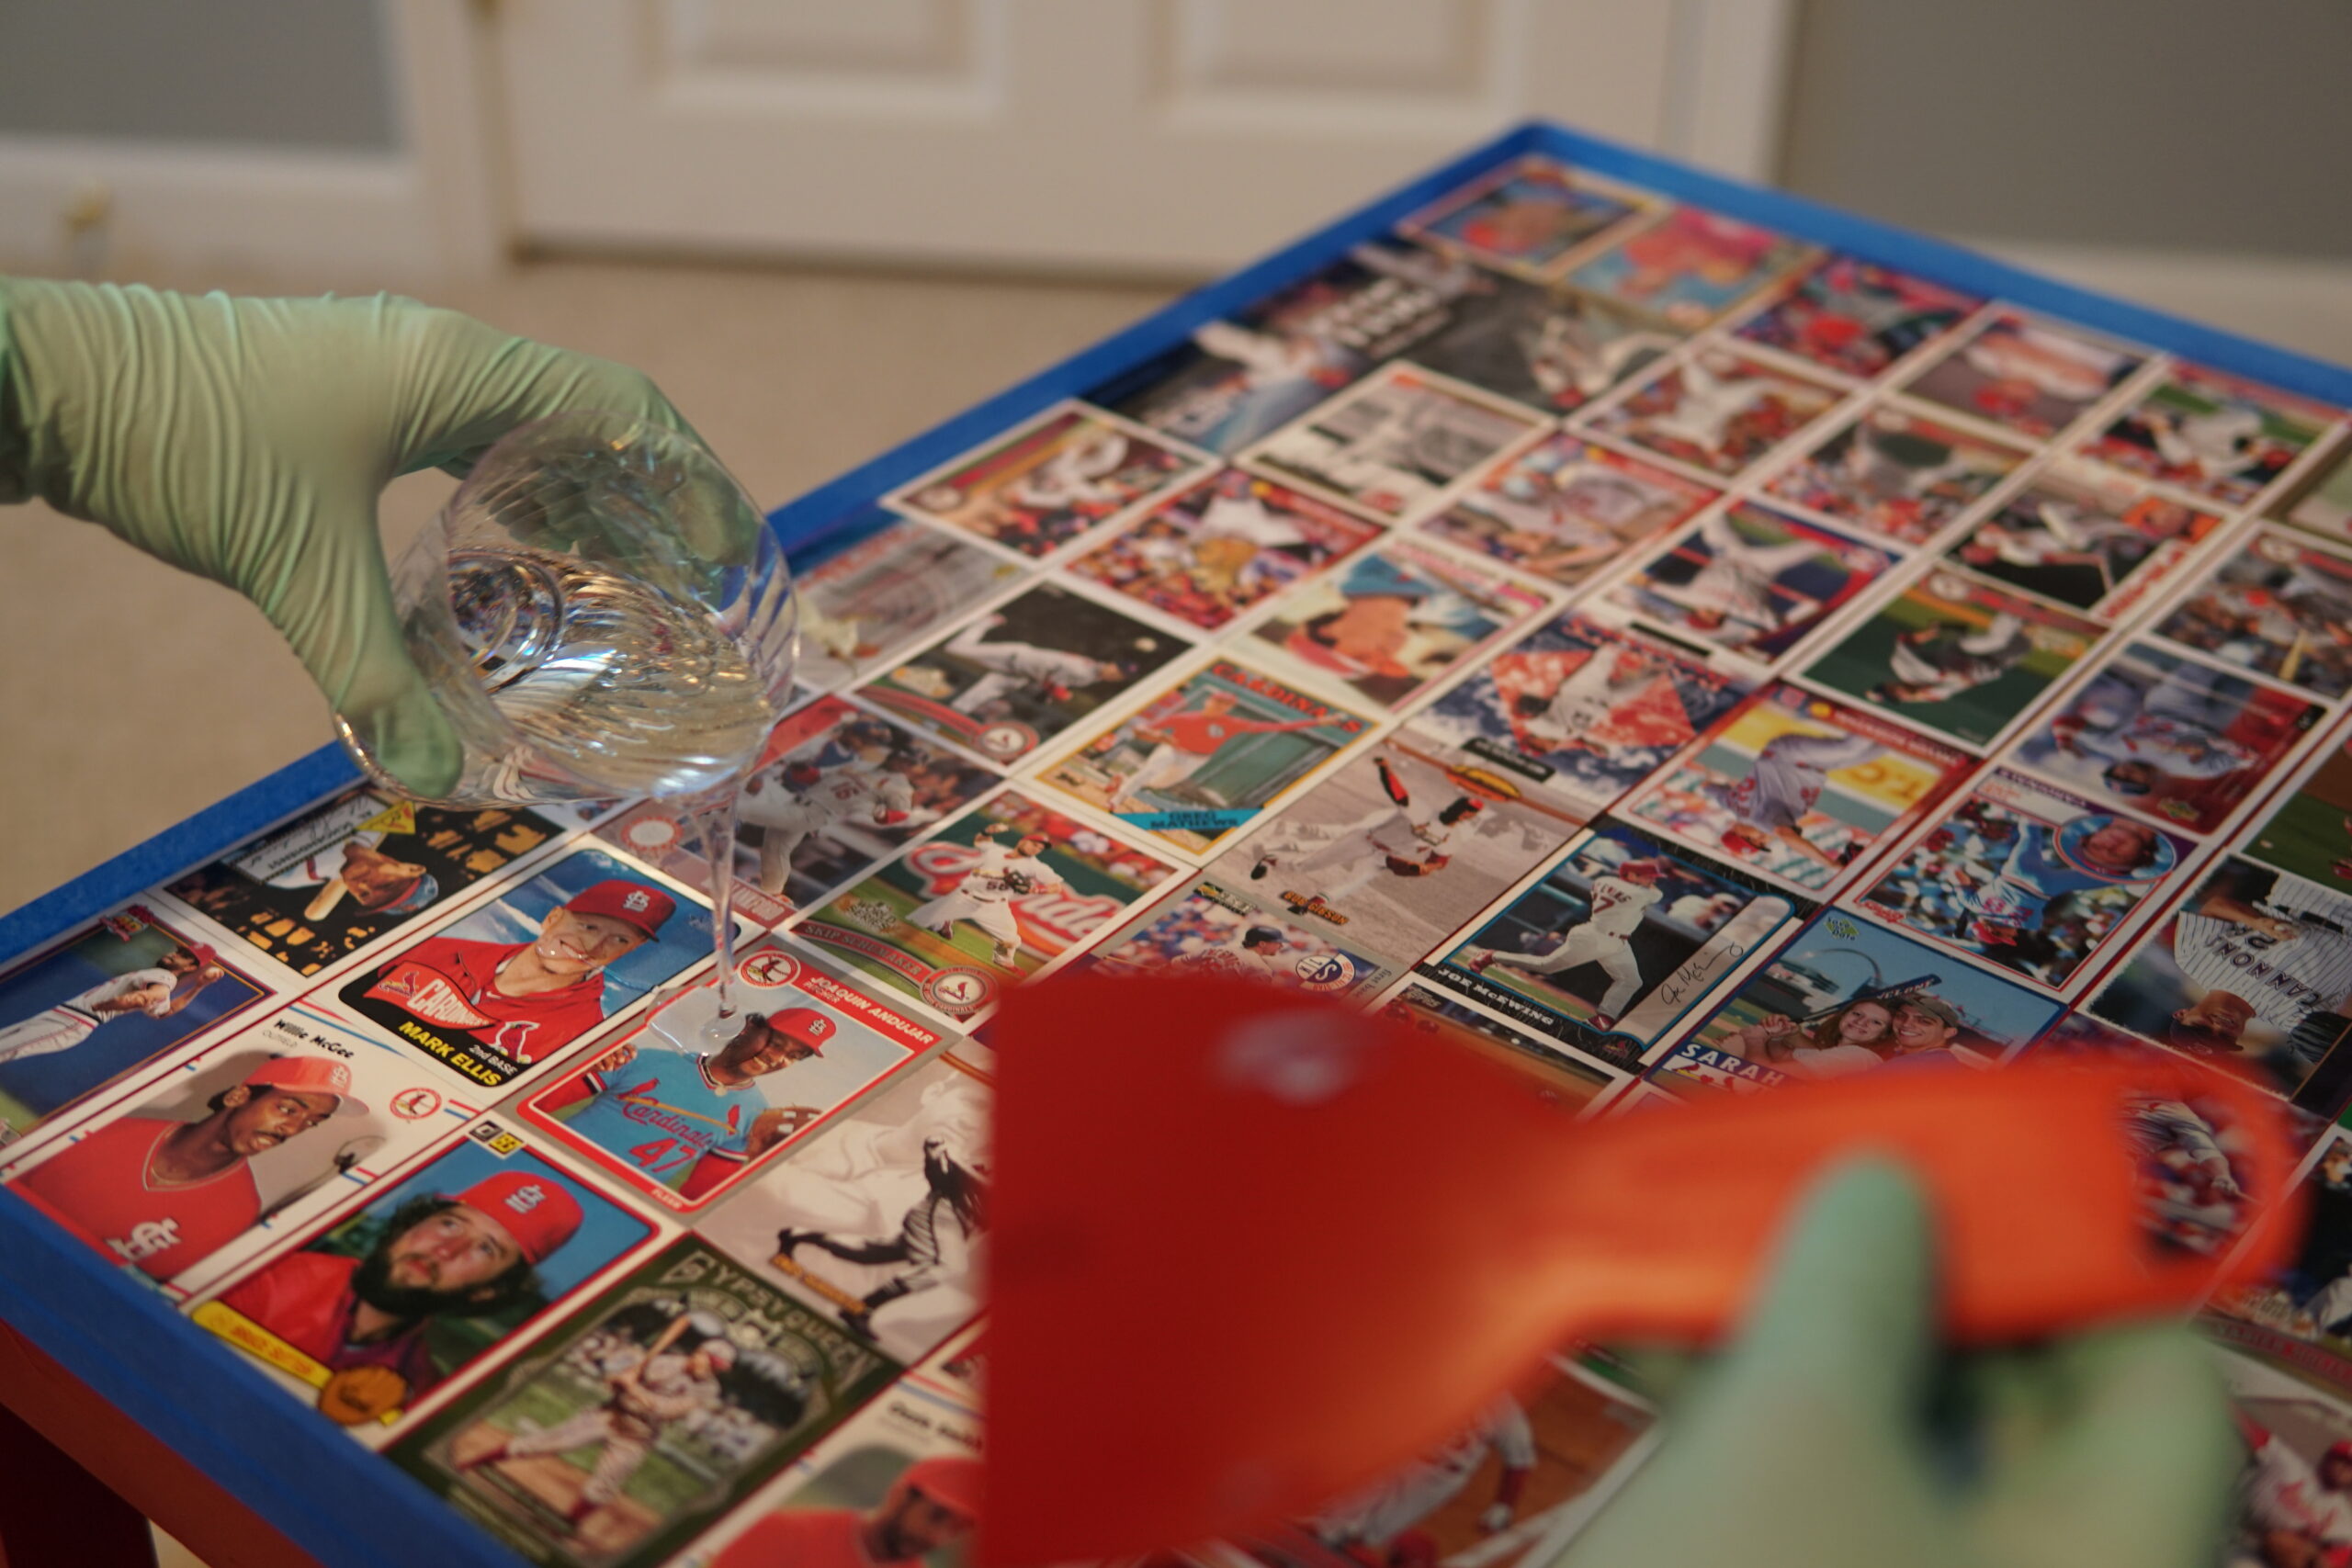
Gather supplies for mixing resin (safety glasses, gloves, resin, hardener, volumetric mixing cups, stir sticks, timer, drop cloth).
Mix resin and hardener, following manufacturer’s instructions using a stir stick, mixing enough to create a thin coating on the top of the table. I mixed 4 fl oz of each resin and hardener per layer (total 8 oz). Famowood instructions have you mix equal parts by volume of hardener into the resin for two 6 minute periods, including a transfer into a new mixing container. It’s critical to ensure the proper ratio of resin to hardener and sufficient mixing or the resin won’t harden. Also don’t mix vigorously or you will get a lot of bubbles which you’ll have to remove later by blowing.This was the first time I used epoxy resin so I made a smaller batch to start to test out the process and ensure it hardened.
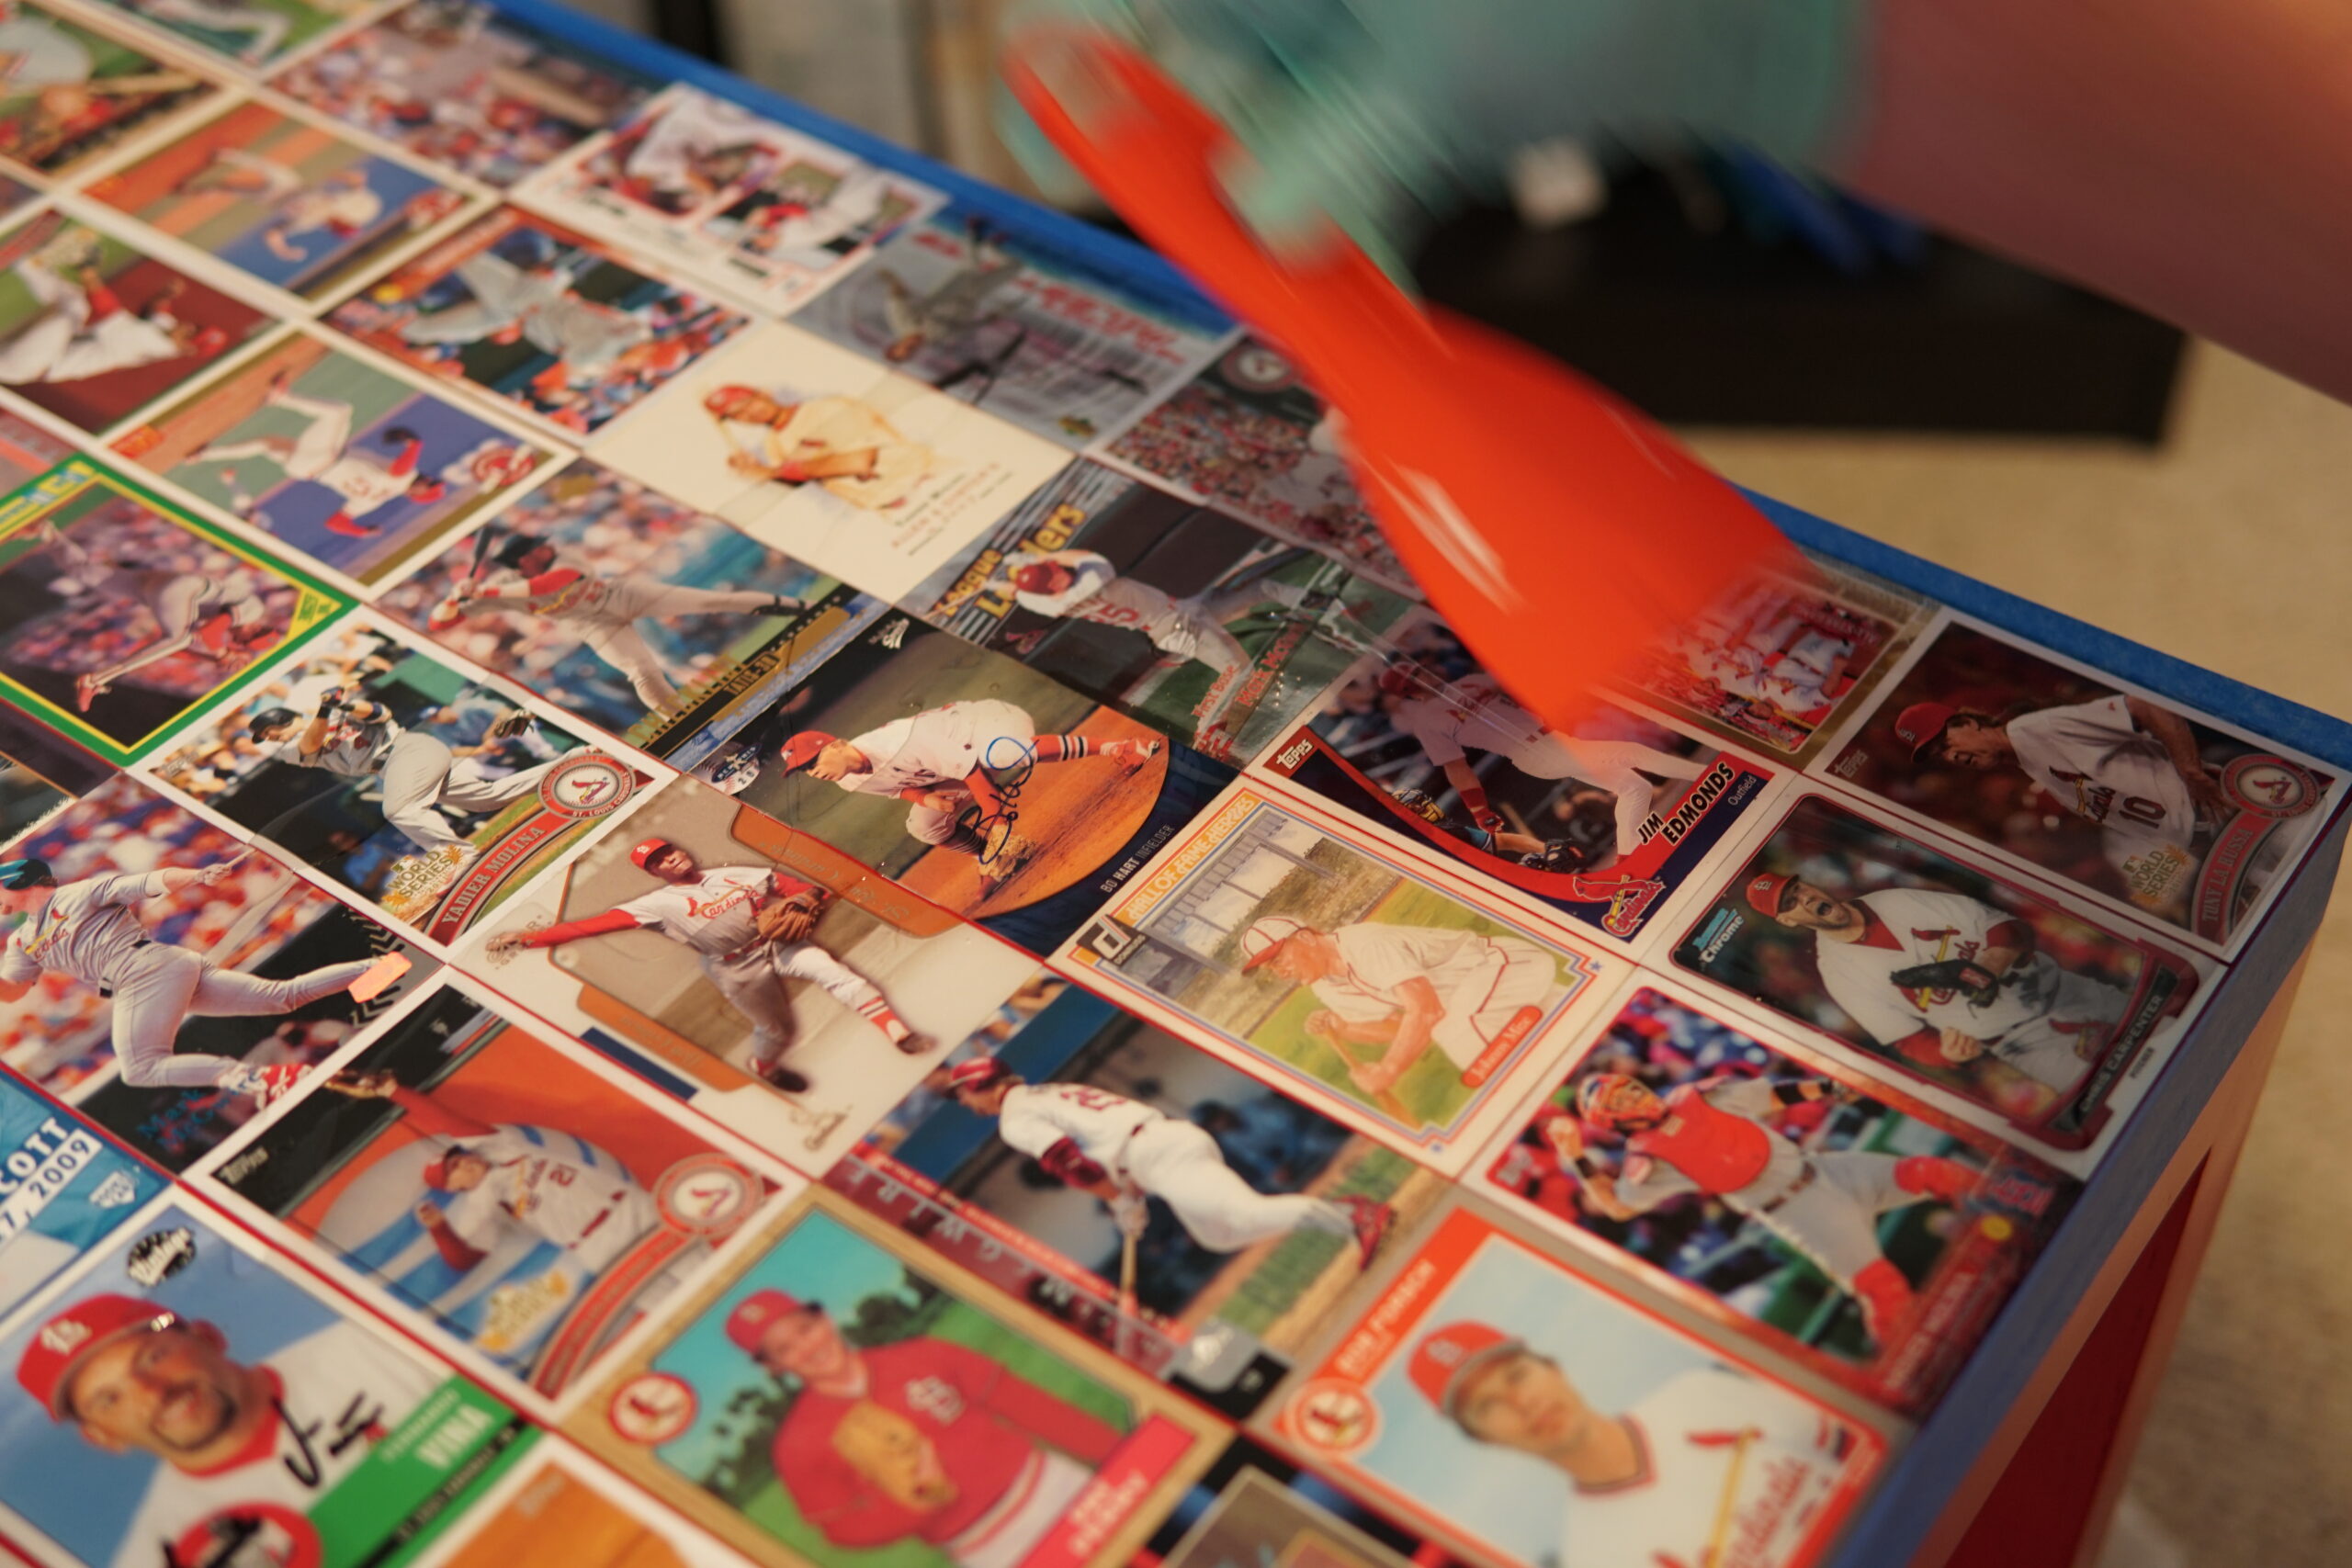
Pour first layer of resin: Pour a thin layer of the resin mixture onto the table top, pouring it slowly onto the center of the top. Fill any indents and flaws within the table surface with the mixture, using a plastic scraper. Continue pouring until the entire table top is coated. If air bubbles arise, gently blow on them. Allow resin to dry completely, per manufacturer’s recommendations (minimum 5 hours). Remove the tape rim from the perimeter of the table top.
Pour second layer of resin: Create a fresh masking tape rim around the table top and mix a fresh batch of epoxy resin. Pour the resin mixture slowly onto the table top until the entire top is coated. Allow it to dry per the manufacturer’s recommended curing time between coats (minimum 5 hours). Then, remove the tape from the table top perimeter.
Pour additional layer of resin: Apply additional coats of resin as desired (minimum of 2), allowing adequate curing time between coats (5-24 hours depending on manufacturer’s instructions) and using a fresh rim of tape each time.
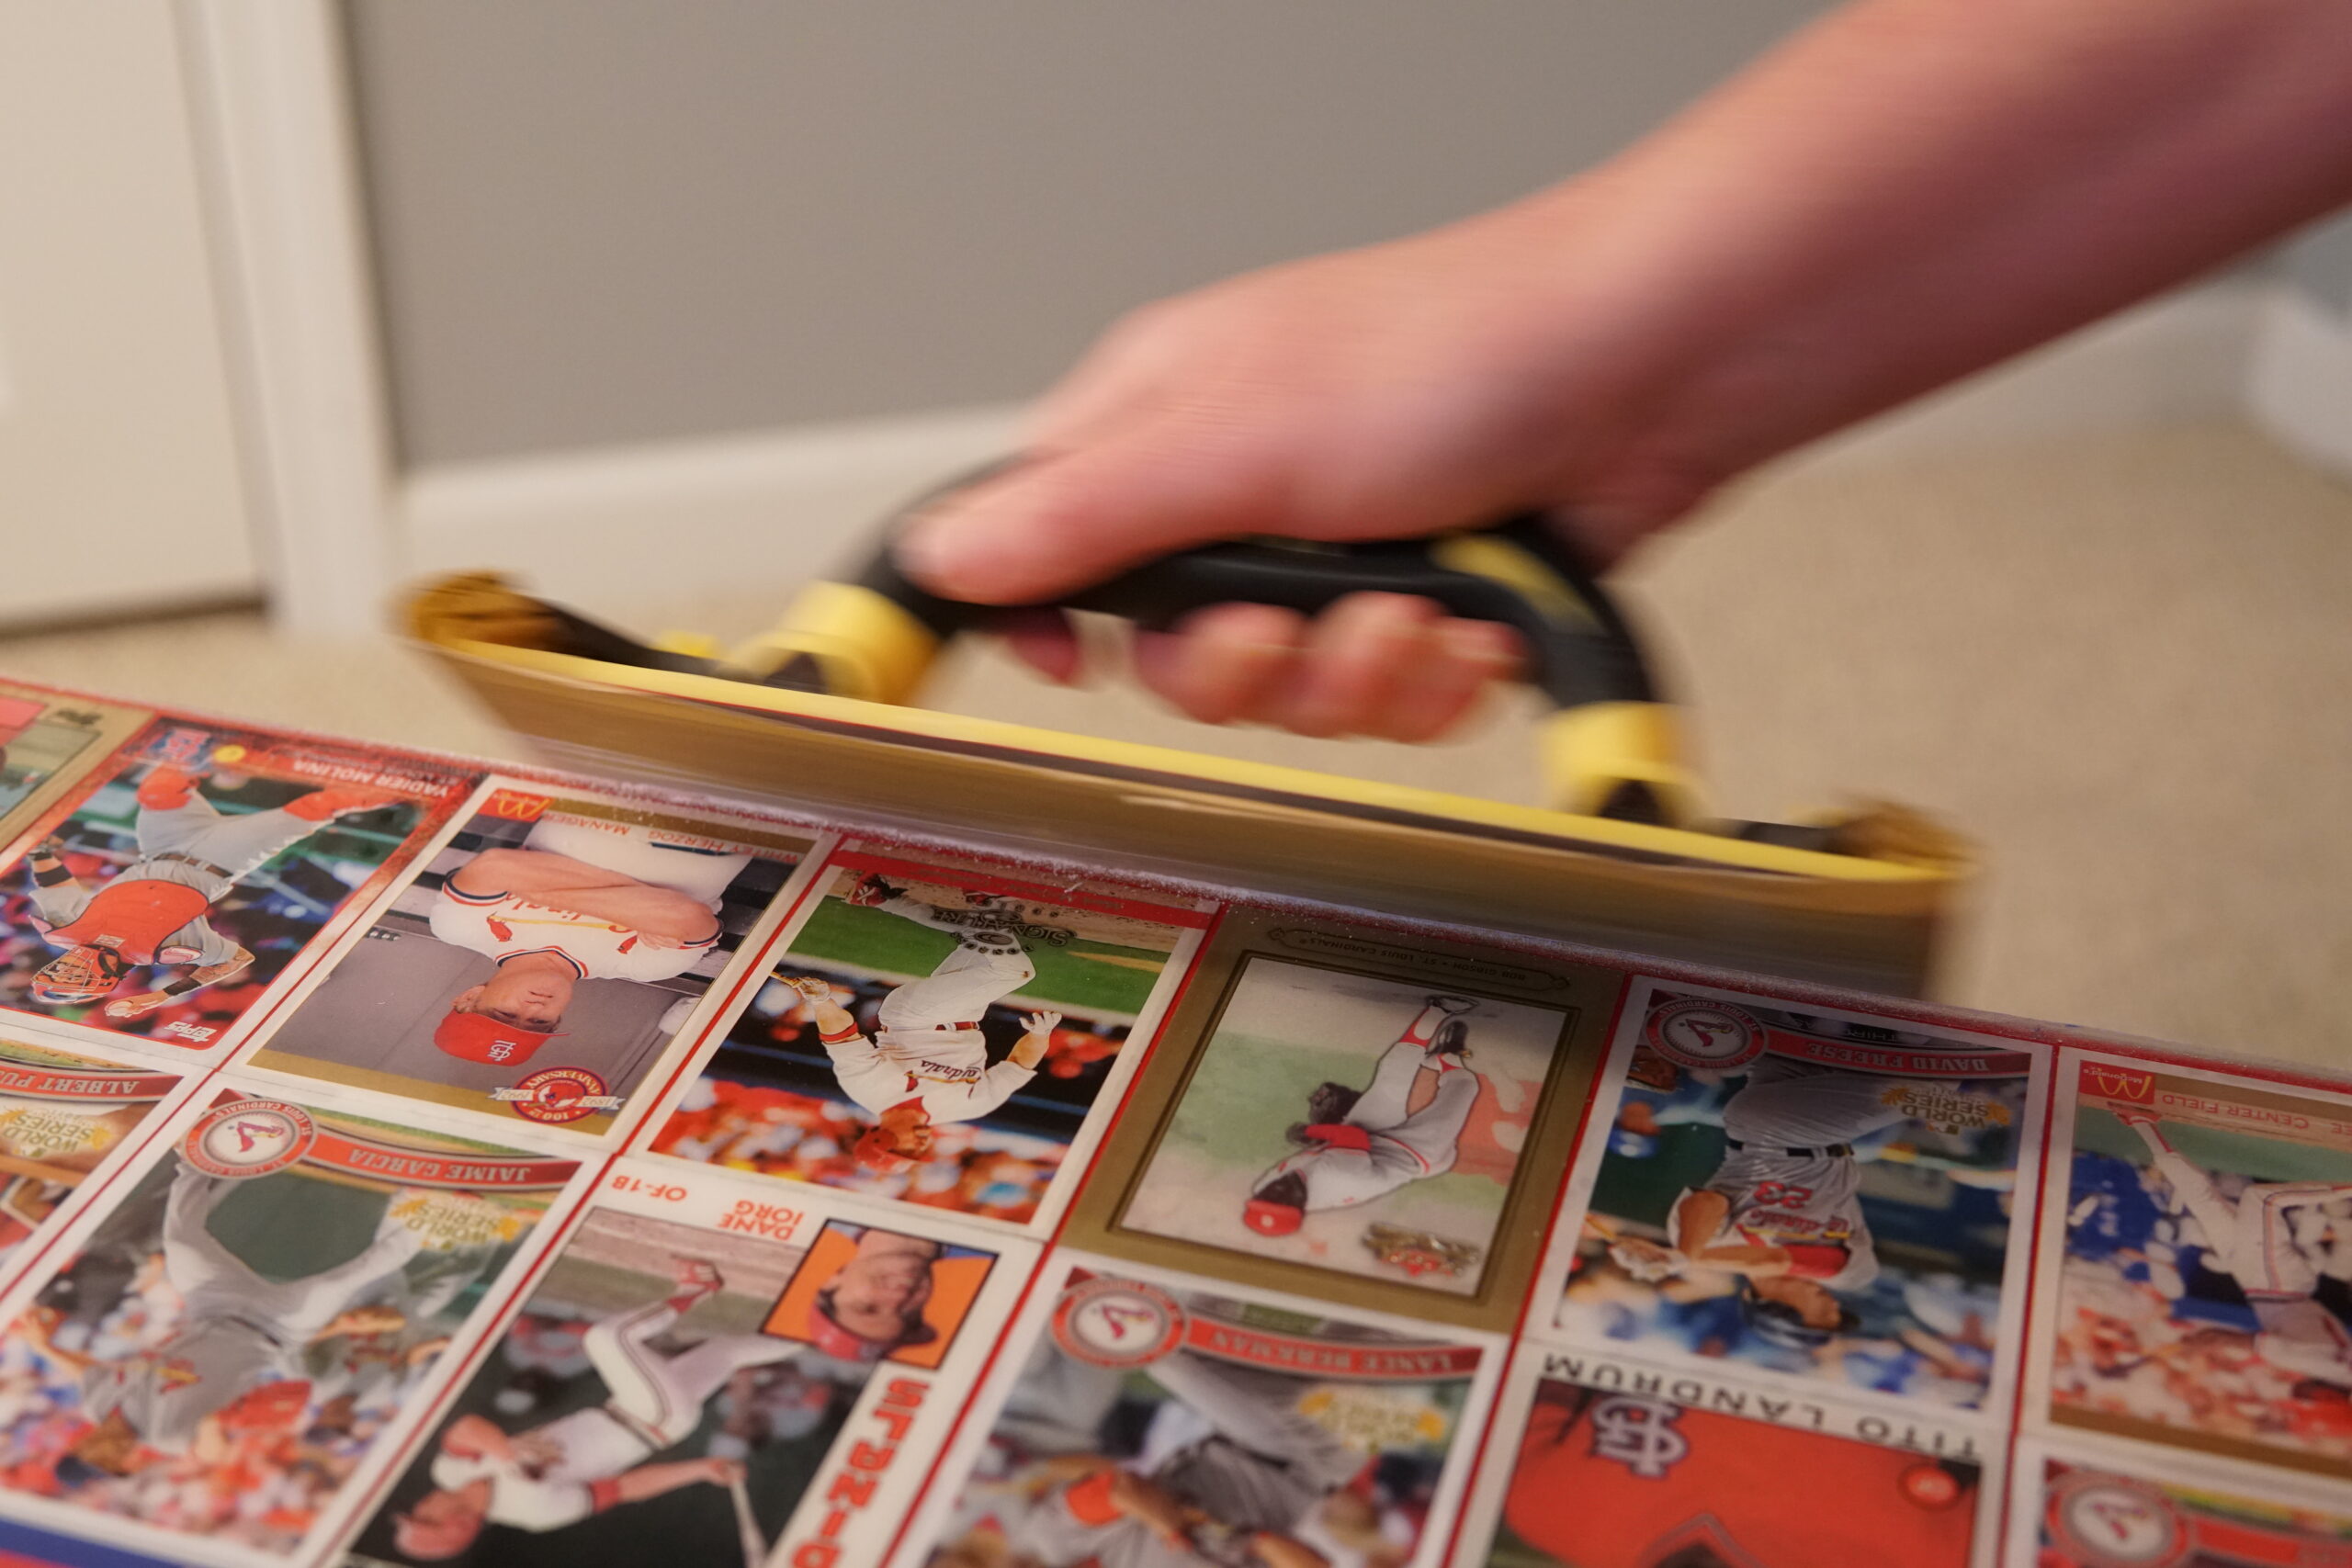
Sand edges: Remove tape and gently sand the edges of the table top using very fine sand paper. Clean the sanded surfaces with microfiber cloth (and rubbing alcohol if needed).
Cure: Allow the table top to cure and harden completely, based on the manufacturer’s directions (typically 72 hours), before placing objects atop it.


2 Comments
This is absolutely, positively the best resource Ive ever read about this project.
Thank you!
We’re glad it was helpful! Best of luck in making a table of your own.