
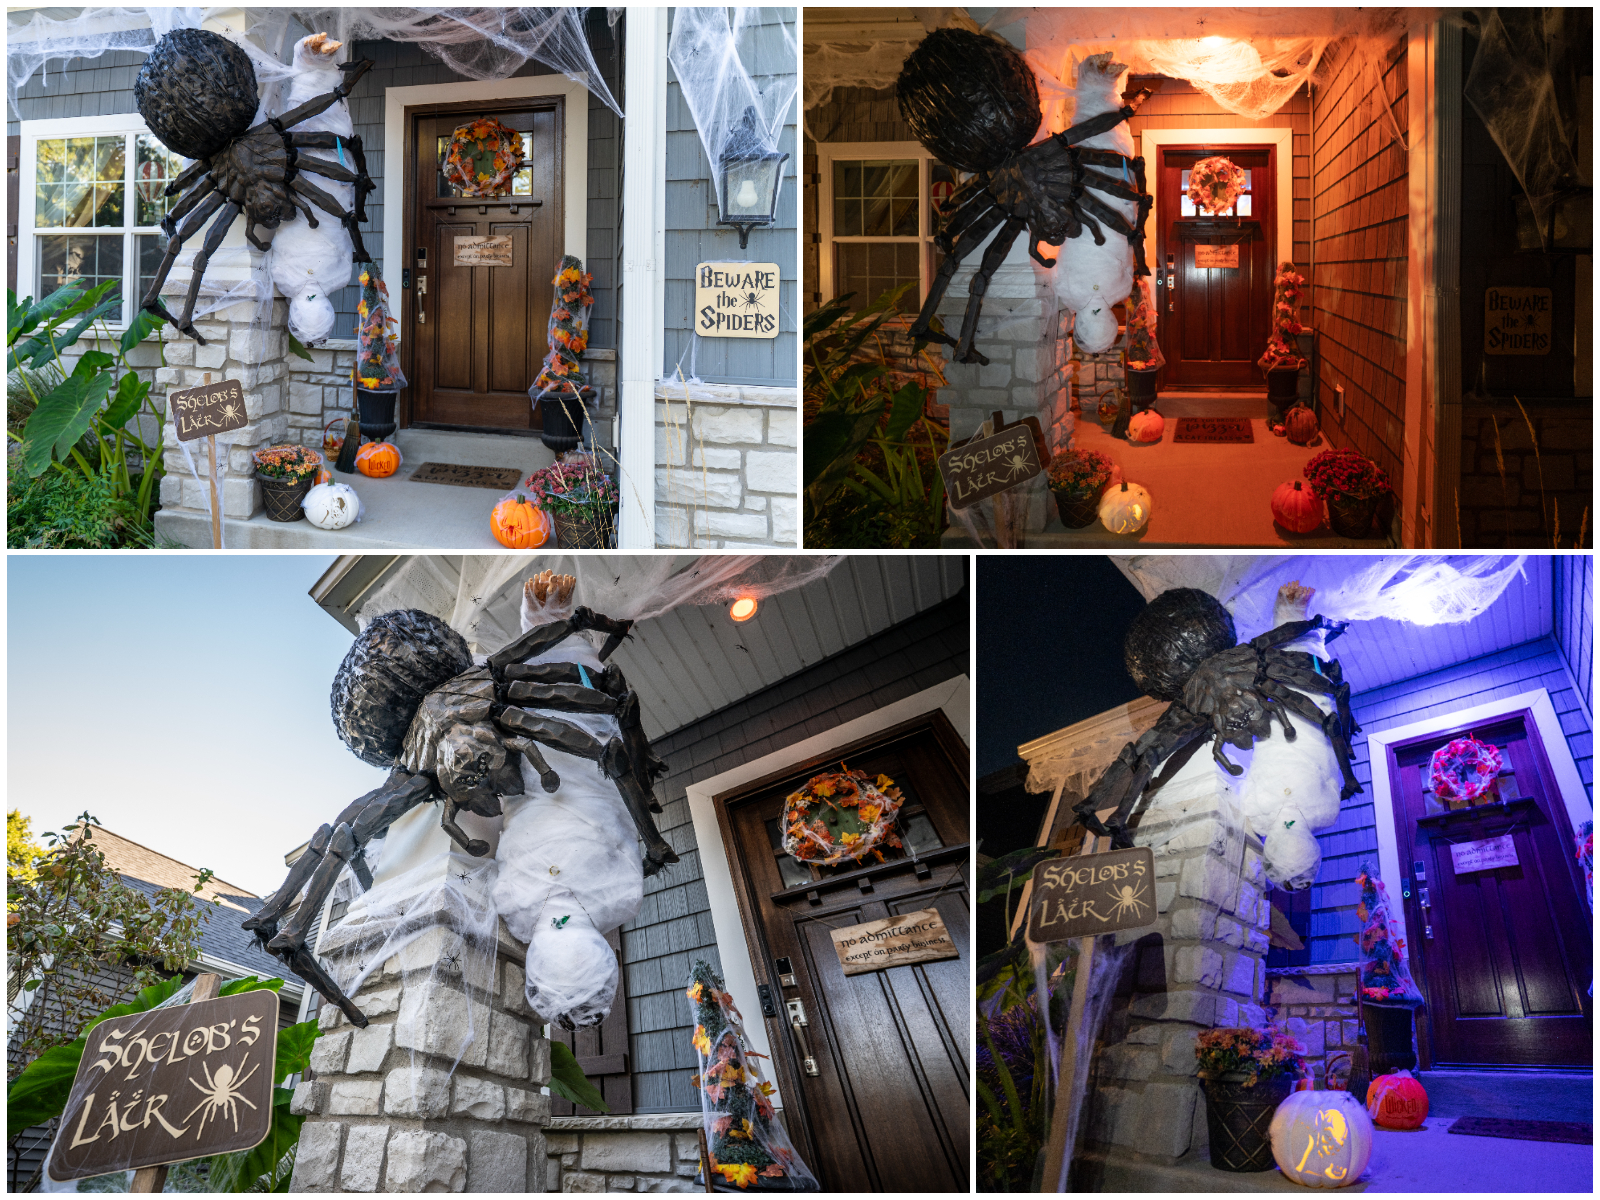
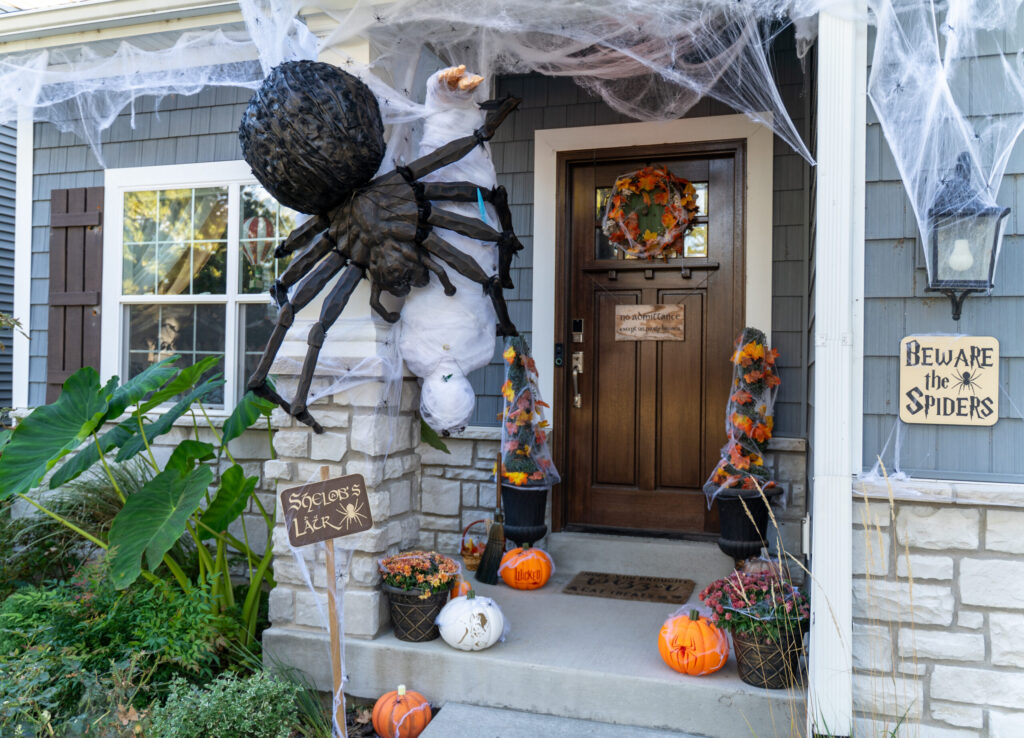
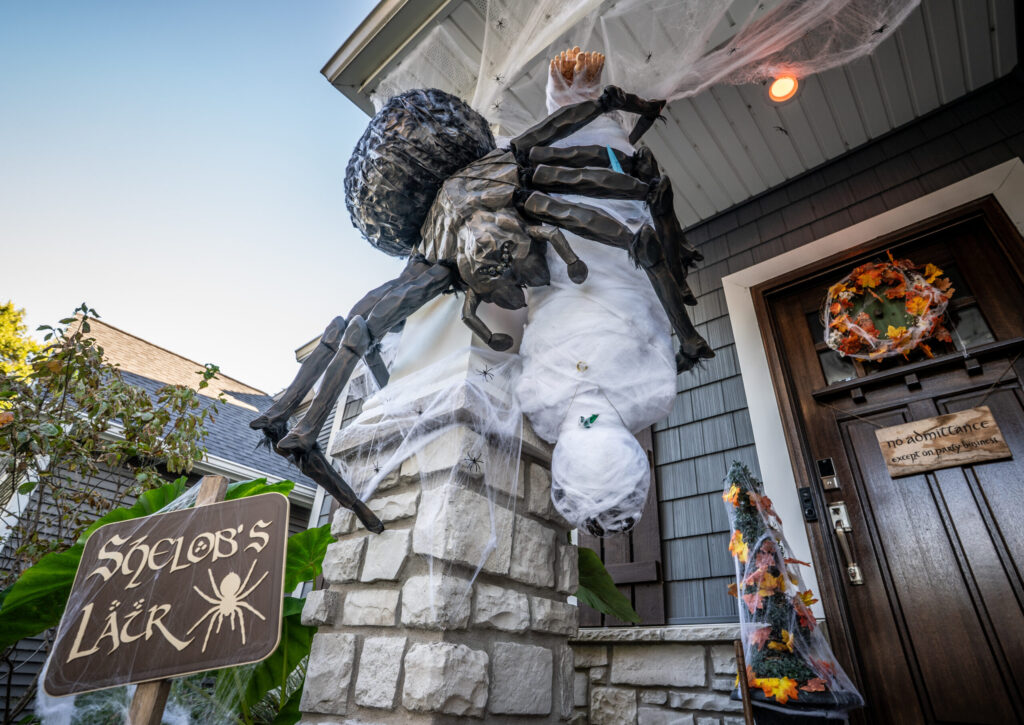
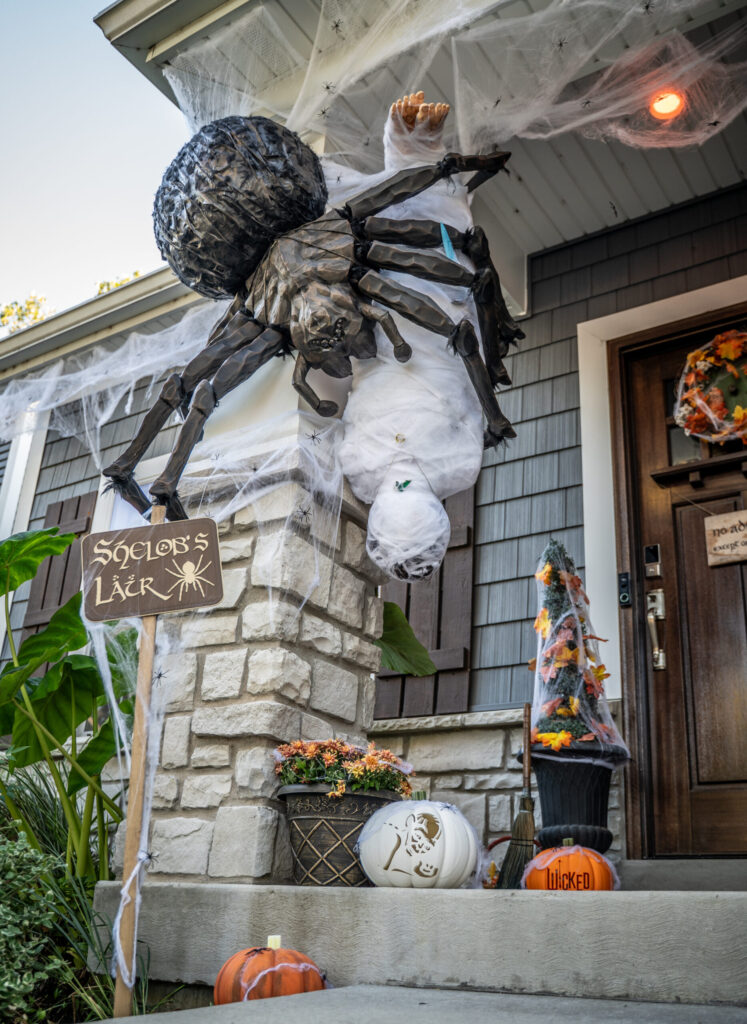
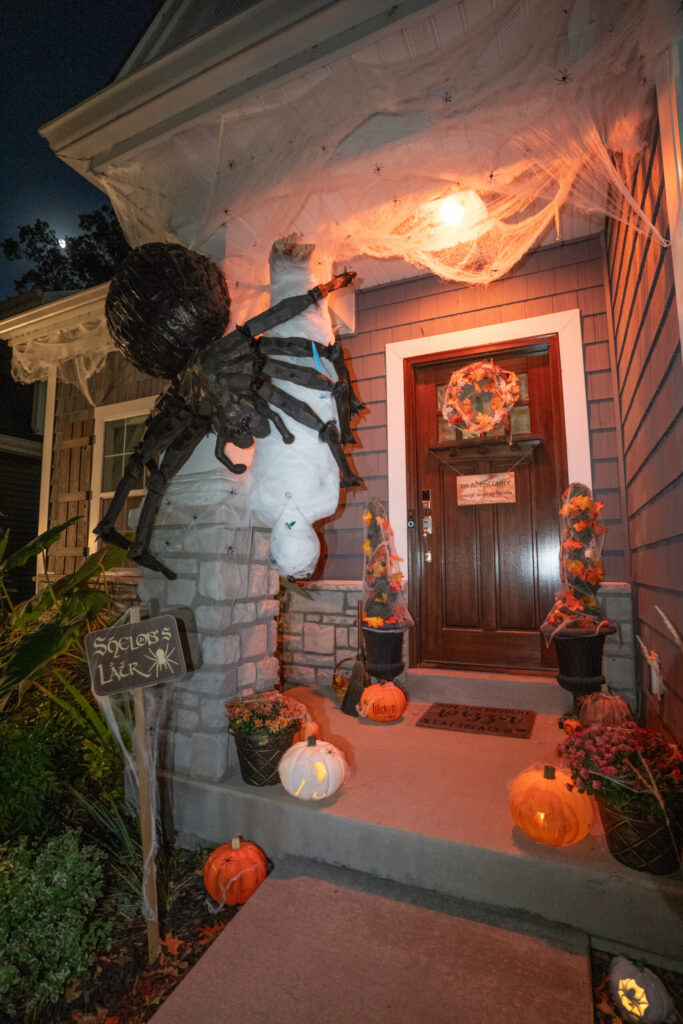
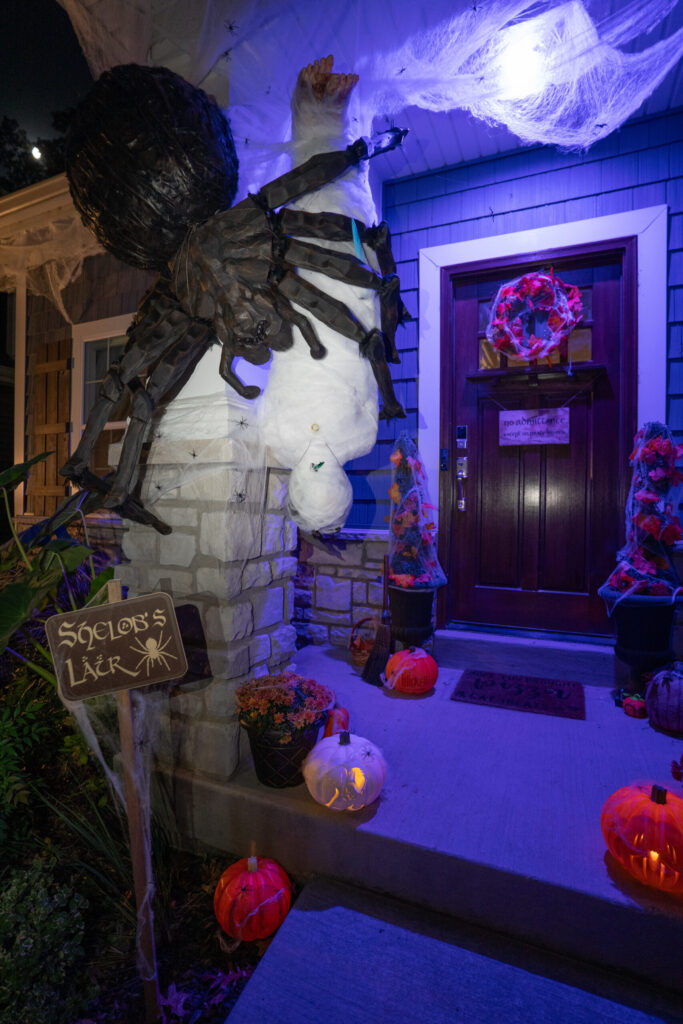
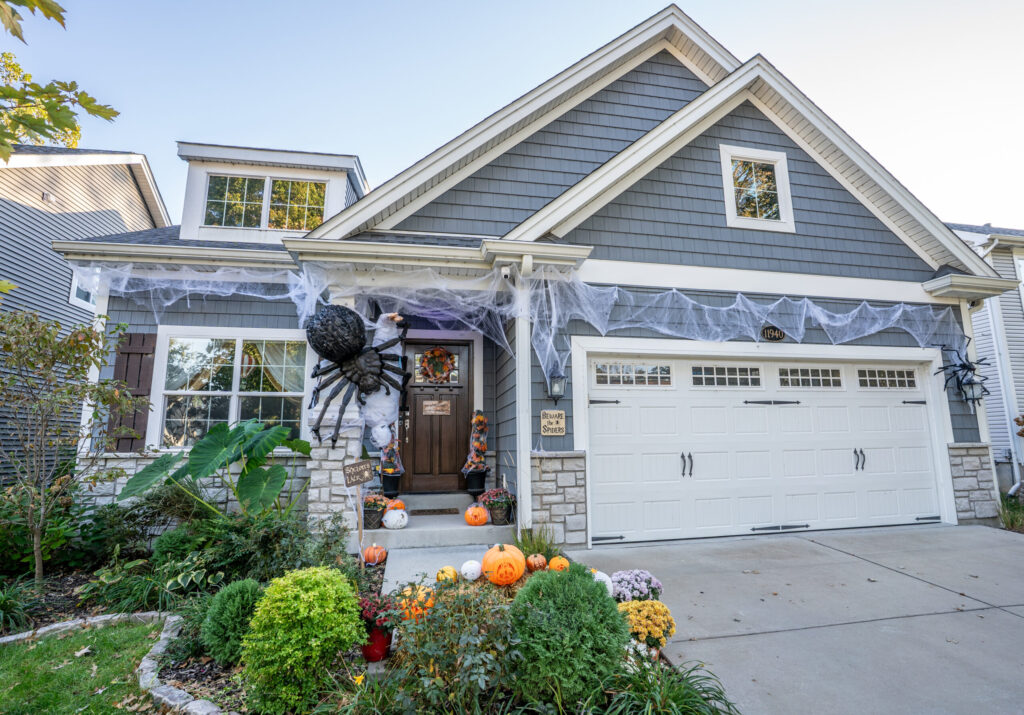
One does not simply walk onto our porch! For Halloween 2026, we transformed our front entrance into the Pass of Cirith Ungol from The Lord of the Rings: The Return of the King, complete with a massive Shelob looming over poor Frodo, who found himself hanging upside down in her web. Using a combo of 3D printing, duct tape, trash bags, paint, and plenty of spiderwebs, we brought one of Middle-earth’s creepiest encounters to life!
🧙♂️ Frodo: A Hobbit in a Sticky Situation
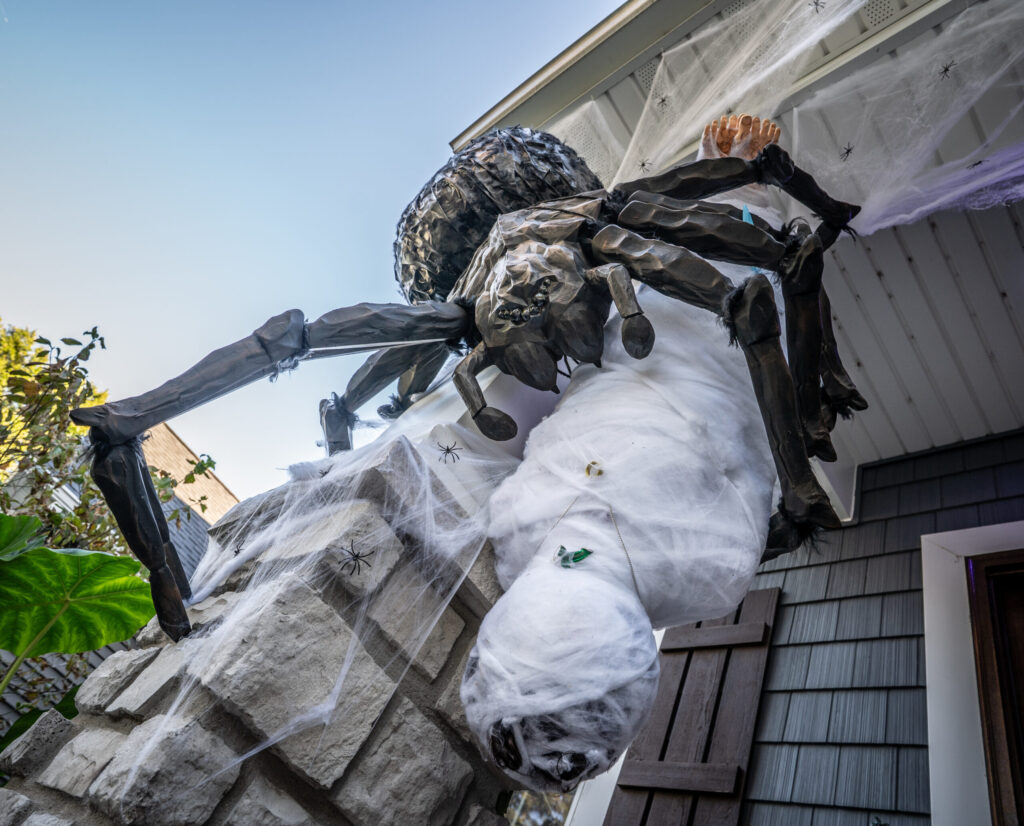
Poor Frodo never stood a chance! We started with an old duct tape body form of me, originally made for sewing costumes, which apparently found a second calling as a doomed hobbit. 😂 We transformed it into a roughly 4’7” Frodo, dressing him in old clothes and adding a volleyball head, curly wig, 3D printed hairy hobbit feet, his signature leaf brooch, and the One Ring around his neck. Once assembled, we wrapped him in layers of white spiderwebbing, leaving just enough detail visible to recognize our unfortunate Ring-bearer. We even tucked his glowing blue, 3D printed Sting into the webbing, although it doesn’t seem to be doing him much good! Finally, we hung him upside down from our porch, thoroughly stuck in a sticky situation and awaiting the arrival of his eight-legged captor.


🕷️ Shelob: One Spider to Rule Them All
Shelob was by far the biggest undertaking! I enlarged a posable spider model to 394.22% of its original size, splitting it into smaller sections for printing on my Bambu H2D. I 3D printed her head, thorax, and eight segmented legs, with each leg consisting of three sections that allowed us to position them around the porch pillar and Frodo. To minimize weight and filament consumption, I used low infill settings, with the printed components totaling ~3.9 kg of filament.
Rather than printing her enormous abdomen, I built it from stuffed black trash bags, rope, and duct tape. Black primer and brown acrylic paint gave it a weathered, organic appearance, while patches of faux fur helped soften the texture. We also added strips of fur between the printed leg segments to disguise the joints and allow flexibility when positioning them.
The final challenge was suspending this massive beast! Thankfully, Scott came to the rescue as my real-life Samwise Gamgee, helping secure the body and position the legs around our porch. Even in Middle-earth, you need someone willing to carry the weight! To complete the scene, I also designed and 3D printed a custom Shelob’s Lair sign, warning unsuspecting visitors of what awaited them. After all, one does not simply walk into Shelob’s Lair!
💡 Tips: What We Learned in Shelob’s Lair
- 🖨️ Print Lightweight: We used 0% infill and two walls for the legs, 1% gyroid infill for the thorax, and 5% infill for the head to reduce weight.
- 🕷️ Position Legs Before Securing: Test different leg positions before attaching them, using flexible faux-fur connections to conceal the joints.
- 🧶 Embrace Texture: Crinkled duct tape, dry brushing, and small patches of faux fur help create a more natural, creepy appearance.
- 🪢 Support the Body: Suspend the thorax and abdomen independently using secure structural supports rather than relying on the printed legs.
- ⚔️ It’s All in the Details: Frodo’s glowing Sting, One Ring, leaf brooch, and hairy hobbit feet help bring the character to life.
- 🌧️ Consider the Weather: Our display was under a covered porch, helping protect the printed pieces, fabric, and other materials from direct exposure.
🎃 The Final Reveal: Welcome to Cirith Ungol
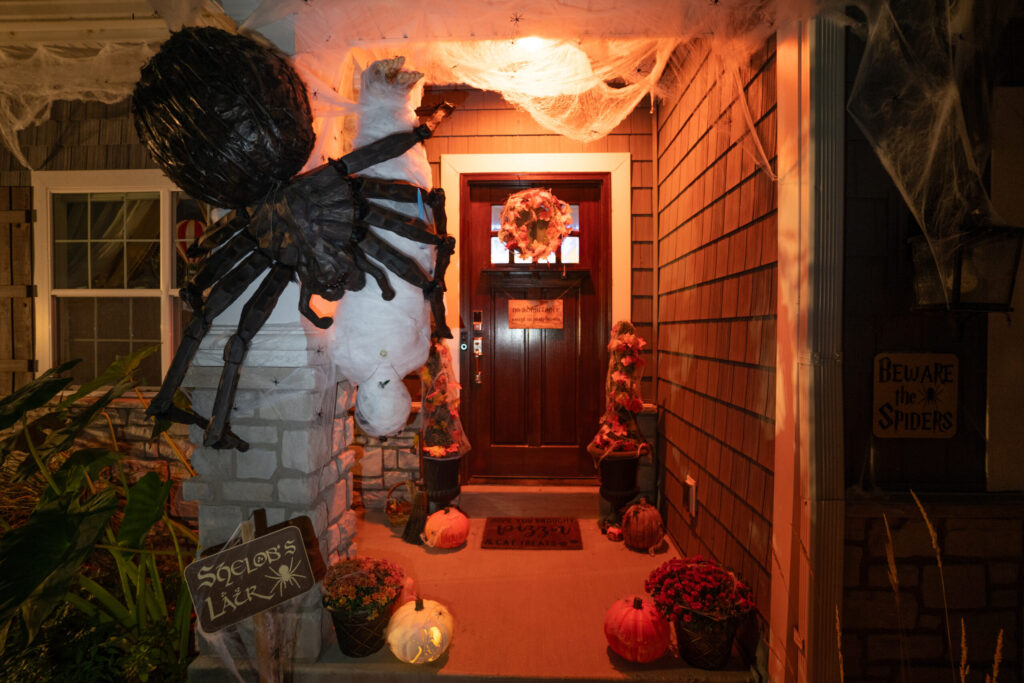
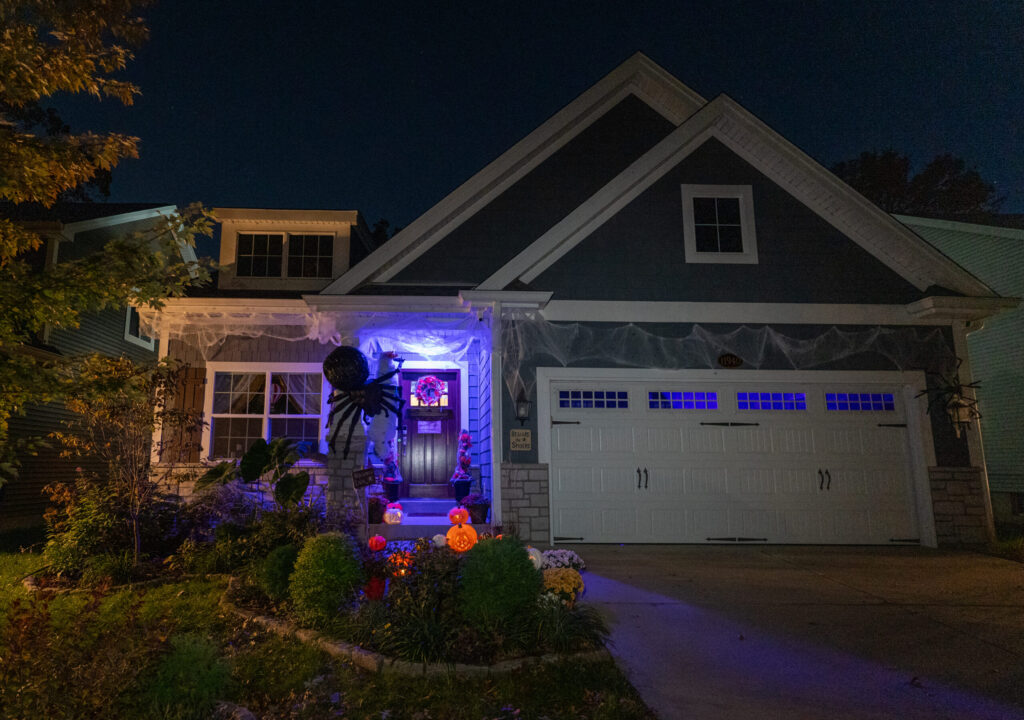
With Shelob looming over a cocooned Frodo, Sting glowing blue, and our custom sign warning visitors of what awaits, our porch officially became the Pass of Cirith Ungol! We added spiderwebs overhead and eerie blue-purple lighting to bring the scene to life after dark. Check out the photos, video, and interactive 360° view below to explore Shelob’s Lair… if you dare! 🕷️
🔄 360 Photo: Click and drag to look around


No Comments